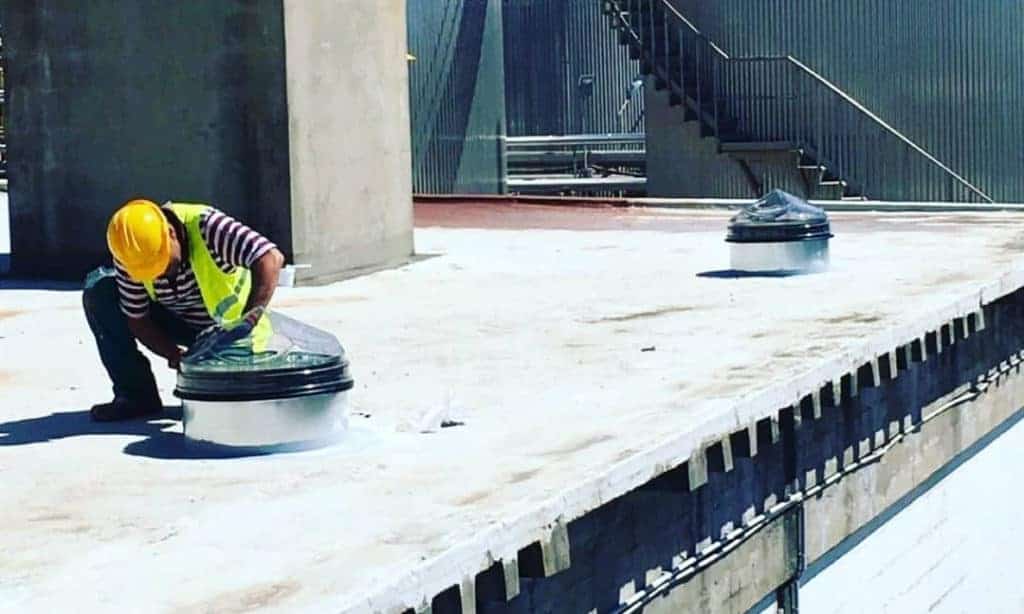
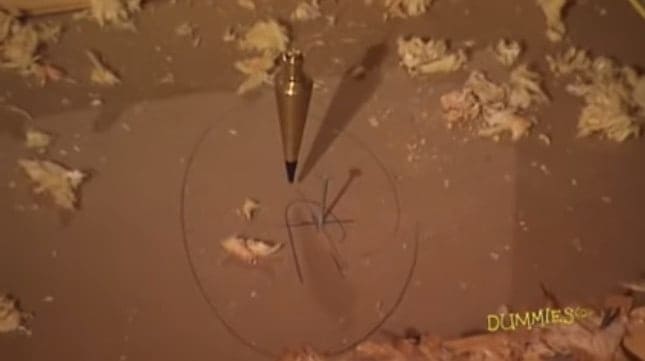
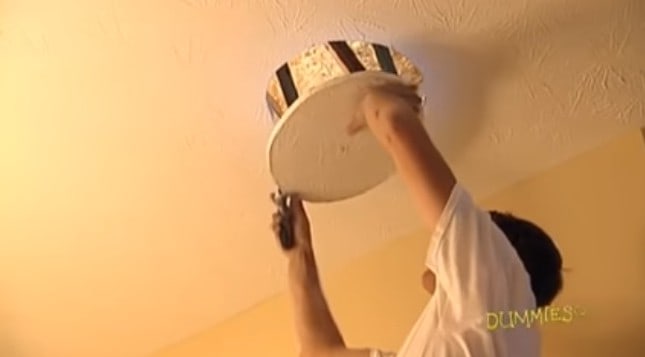
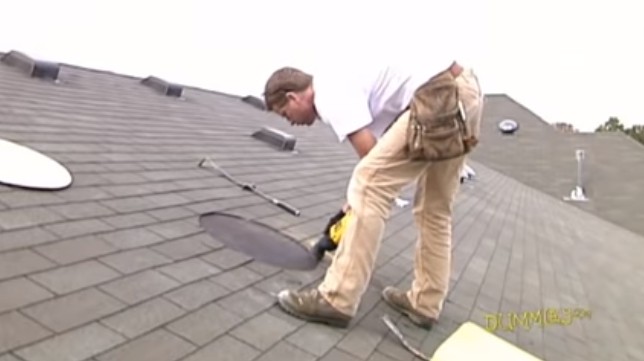
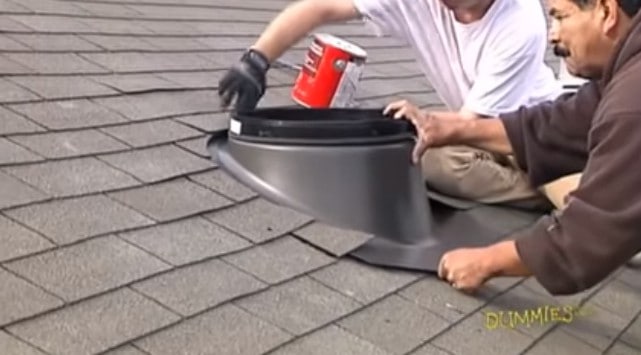
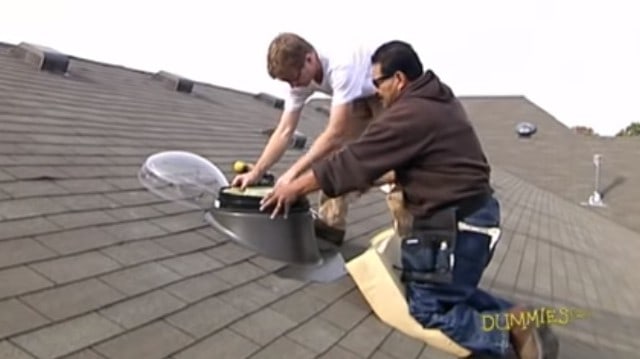
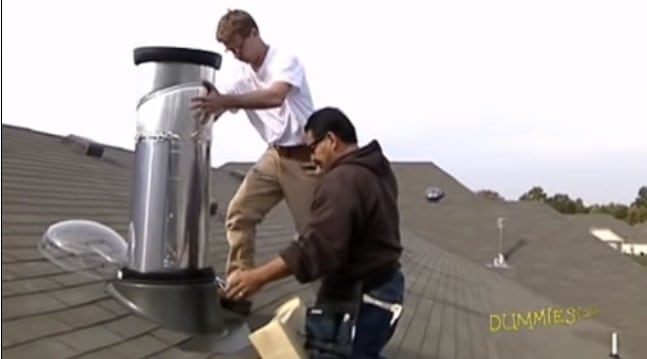
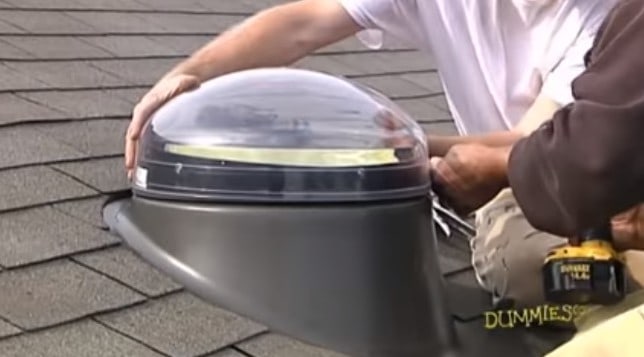
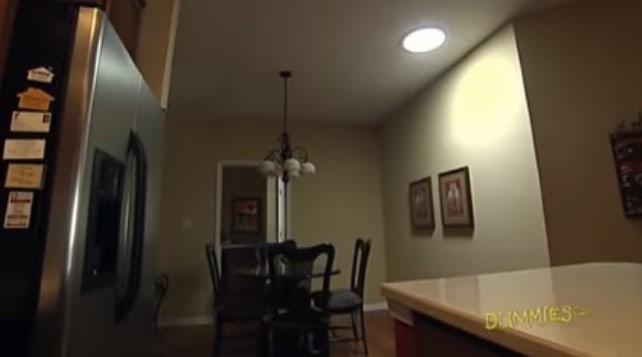
To install a solar tube, choose the ceiling’s ideal part- preferably the center- and mark it. Drill a hole from the roof to the ceiling, wide enough to hold the tube. Then, install the flashing and the dome.
Install the bottom assembly, including the fixtures at the ceiling. Connect the dome and bottom assemblies with the extension tubes. Mount a diffuser to disperse the light evenly around the house. Test the installation to ensure that the dome captures the light from the sun and the tube directs it to the ceiling, where the diffusers and lenses disperse it.
Below, Find The Ultimate 10 Step Guide To Installing A Solar Tube
Video showing how to install a solar tube
1. Understand the parts of your solar tube
Improper installation of solar tubes leads to suboptimal performance. Mounting a dome means perforating a hole into your roof. If you miss the point here, you may end up soaking in the leak! Consult widely and set a clear strategy to prevent any losses, damages, or future problems.
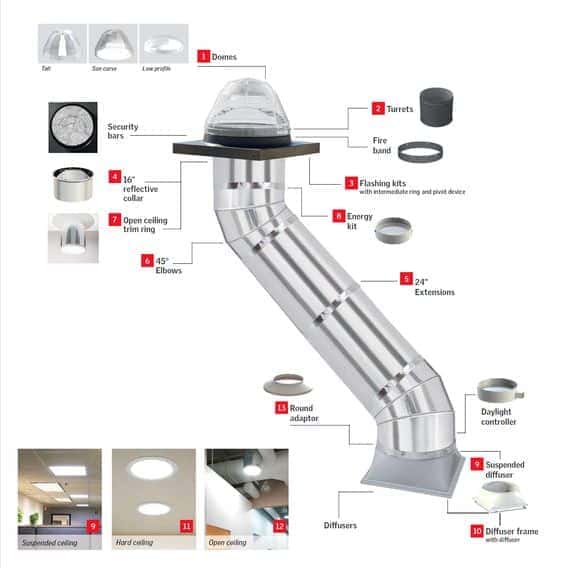
The solar tube has several components that require specialized installation. Before you start mounting your unit, understand how each part functions. The tubes cost a fortune, and knowing how every part works saves you unnecessary breakages,
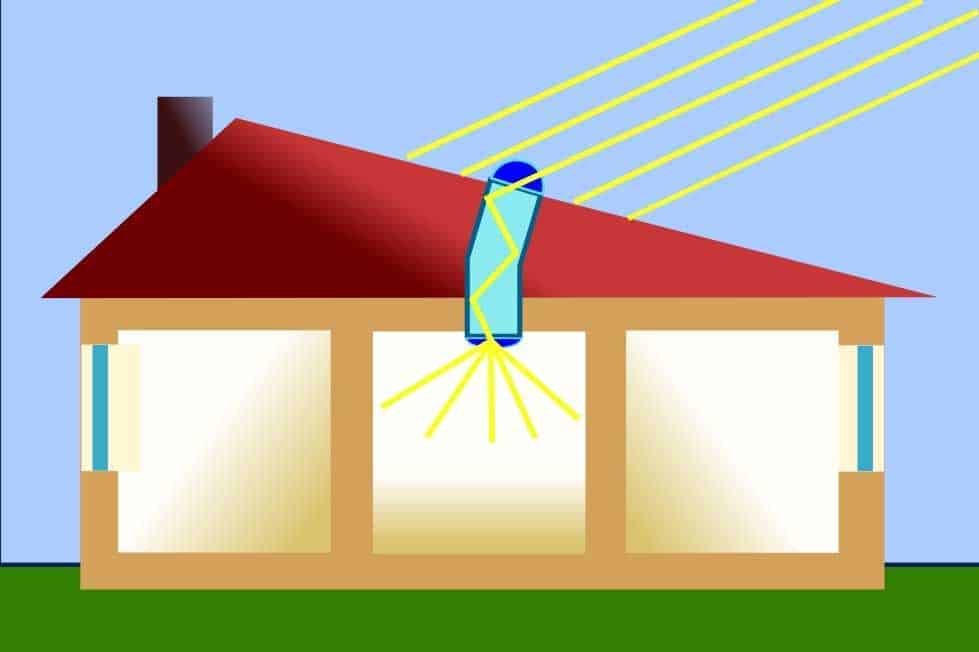
So, how does the sun tube work? The standard solar tube has a dome at the top of the roof that traps sunlight and channels it into the pipes. At the bottom of the tube is a diffuser that disperses sunlight evenly around your house.
The tube is a long pipe that forms a continuous mirror that channels light from the dome to the diffuser. The majority of units have flexible tubes, eliminating the challenge of cutting to size.
The transparent hollow space guides light from the sun into your house. Advanced models even have an optic fiber instead of a tube.
Each brand has unique parts and principles. Read and understand your user guide manual to know how exactly to make a successful installation.
Understanding how each part of your solar tube works lets you know how to install, repair or maintain it.
Here is a picture of the different parts of a solar tube. Your unit may not look exactly like this one, but you can draw some inspiration when making the installation.
2. Get the appropriate tools.
Gather the tools and equipment that will make your work easy. First, you need a ladder to access the high areas. The stepladder will also come in handy when cutting a hole through your roof into the ceiling.
Falling from elevated positions can cause fatal injuries or long-term disabilities. So, get step ladders that are strong enough to hold your weight. If the roof is too high or you stay on the top floors of an apartment building, consider seeking professional assistance.
Here are a few tools and equipment to use when installing a solar tube:
- Hammer
- Magnetic compass
- Torch
- Plumbline
- Retaining wire
- Keyhole saw
- Reciprocating saw
- Sealant gun
- Angle grinder
- Screwdrivers
- Drill and bits
- Scissors or knife
- Tape measure
Having the necessary equipment in place makes your installation easy. Depending on how handy or experienced you are, decide whether to use electric or manual workshop tools.
3. Take safety precautions
By now, you have the tools and a precise installation strategy. The next step is to set out your safety measures.
The manufacturers will disclaim all liability for any losses or injuries you get in the installation process. It’s solely up to homeowners or solar installation technicians to stay safe.
First, consider wearing protective gear. A simple helmet and hand glove could save you lots of pain and hospital bills.
See these precautions too:
- Always have another person around when you’re installing the sun tube.
- Do not work around slippery surfaces.
- Conduct your installation during calm, dry weather.
- The drywall isn’t strong enough to carry your weight. Have a stepladder in place.
- During the hot sun, the tube’s reflective characteristics may concentrate heat or light in one place. Beware of flames emanating from the concentration of this radiation.
4. Mark the ceiling, and the roof location
By now, you have everything in place to kick off the installation process. Select the right location for your sun tube.
Position the dome at an open place away from any shades. Consider the shade, length of the tube, and ceiling type when marking the right spot.
Also, ensure the space between the roof and ceiling holes is unobstructed. Then, mark the spots where you’ll place the entrance or exit of your tube.
5. Drill a hole into the ceiling
After confirming that the spots align, it’s time to drill through your ceiling. Here, consider finding enough space for the solar tube. Add ample space for the aesthetics or support base of your diffuser.
Remember, it’s at this hole that you’ll later install the diffuser. So, it has to be large enough to accommodate your tube and fixture’s visible house and ceiling features.
6. Drill a hole in the roof
Take your stepladder and drills and get to your roof again. Identify your marks and cut out a corresponding hole in your top. The hole should have your tube’s diameter, plus an allowance of an inch more for the flashings.
7. Install the flashing and top assembly
Before you place the dome, you’ll need to prepare the flashing and top tube. You’re creating the roof end so that you can join it to the bottom assembly with reflective tubes.
The flashing and roof assembly will prevent any water or dust from finding its way to the tube, or the ceiling. Aim at completely sealing the hole you cut on your roof.
Your unit will have to flash to mount on top and below the roof. For instance, if your roof is made of galvanized sheets, you’ll place the flashings at the top and bottom of these sheets. Then, fasten the flashings with screws or twists, depending on your unit.
Pin the ring of the dome to the flashing with the screws.
8. Install the dome accurately
Now, you’ve already created a comfortable place for the solar tube roof dome to rest. Fix the crown tightly into position.
Domes don’t always face the same side. Some have a slight tilting.
Some tilts are vertical, while others are tilted towards the equator. The dome’s angle and flashing from the ceiling hole depend on your location and the unit you’re installing. So, read out your manual guide or consult your provider.
Ideally, the angle is the same as the latitude of your state. The tilt allows the dome to face the sun and get optimum radiation throughout the year.
In Australia, typically, solar installations might be tilted around 30° north. In America, the optimal tilt angle could be between 28° and 48° south, but always consult local guidelines or experts.
9. Put the extension tubes
Now, you have both the top and bottom assemblies. It’s time to join them using extension tubes.
Remove any protective coverings from the tube’s reflective surface and begin the assembly. The tubes have one side that’s wide and the other narrow. Treat these as the male and female ends. The narrow end should face the bottom assembly.
Mount as many tubes together as you need to connect the top and bottom assemblies. Use the screws or tapes to adjust the angles appropriately, as your user guide suggests. Feel free to support the extension tubes with retainers to achieve the correct angle.
10. Install the diffuser
The last component to attach to your sun tube system is also the most fragile. The diffuser and effects lenses need careful handling lest they break or get dirty.
So, from the bottom assembly, insert the lenses until they rest articulately with the base. The clear part of the diffuser has to face down.
Some diffusers require to be fastened with screws, while others are rotated clockwise. Yet, a handful of them have male-female lugs that join seamlessly when you twist them. Check with your user’s guide for the specific method your model requires.
11. Test your solar tube and correct any defects
Congratulations – you just completed installing your solar tube! Now, it’s time to correct any defects that you may find in your system. Check if every part of the system is working correctly.
Test whether your unit’s light is bright enough to light up your house as you initially projected. Switch off all electric lights and close the windows during the day to see how the two lights compare. If the light is too low, you might want to add a few more solar tubes to your lighting system.
Expect the unit to be a little dimmer for the first few weeks after installation. Humid air and dust block light and sometimes reflect it away. Over some time, the solar tube will automatically remove the impurities through the flashing insulator.

