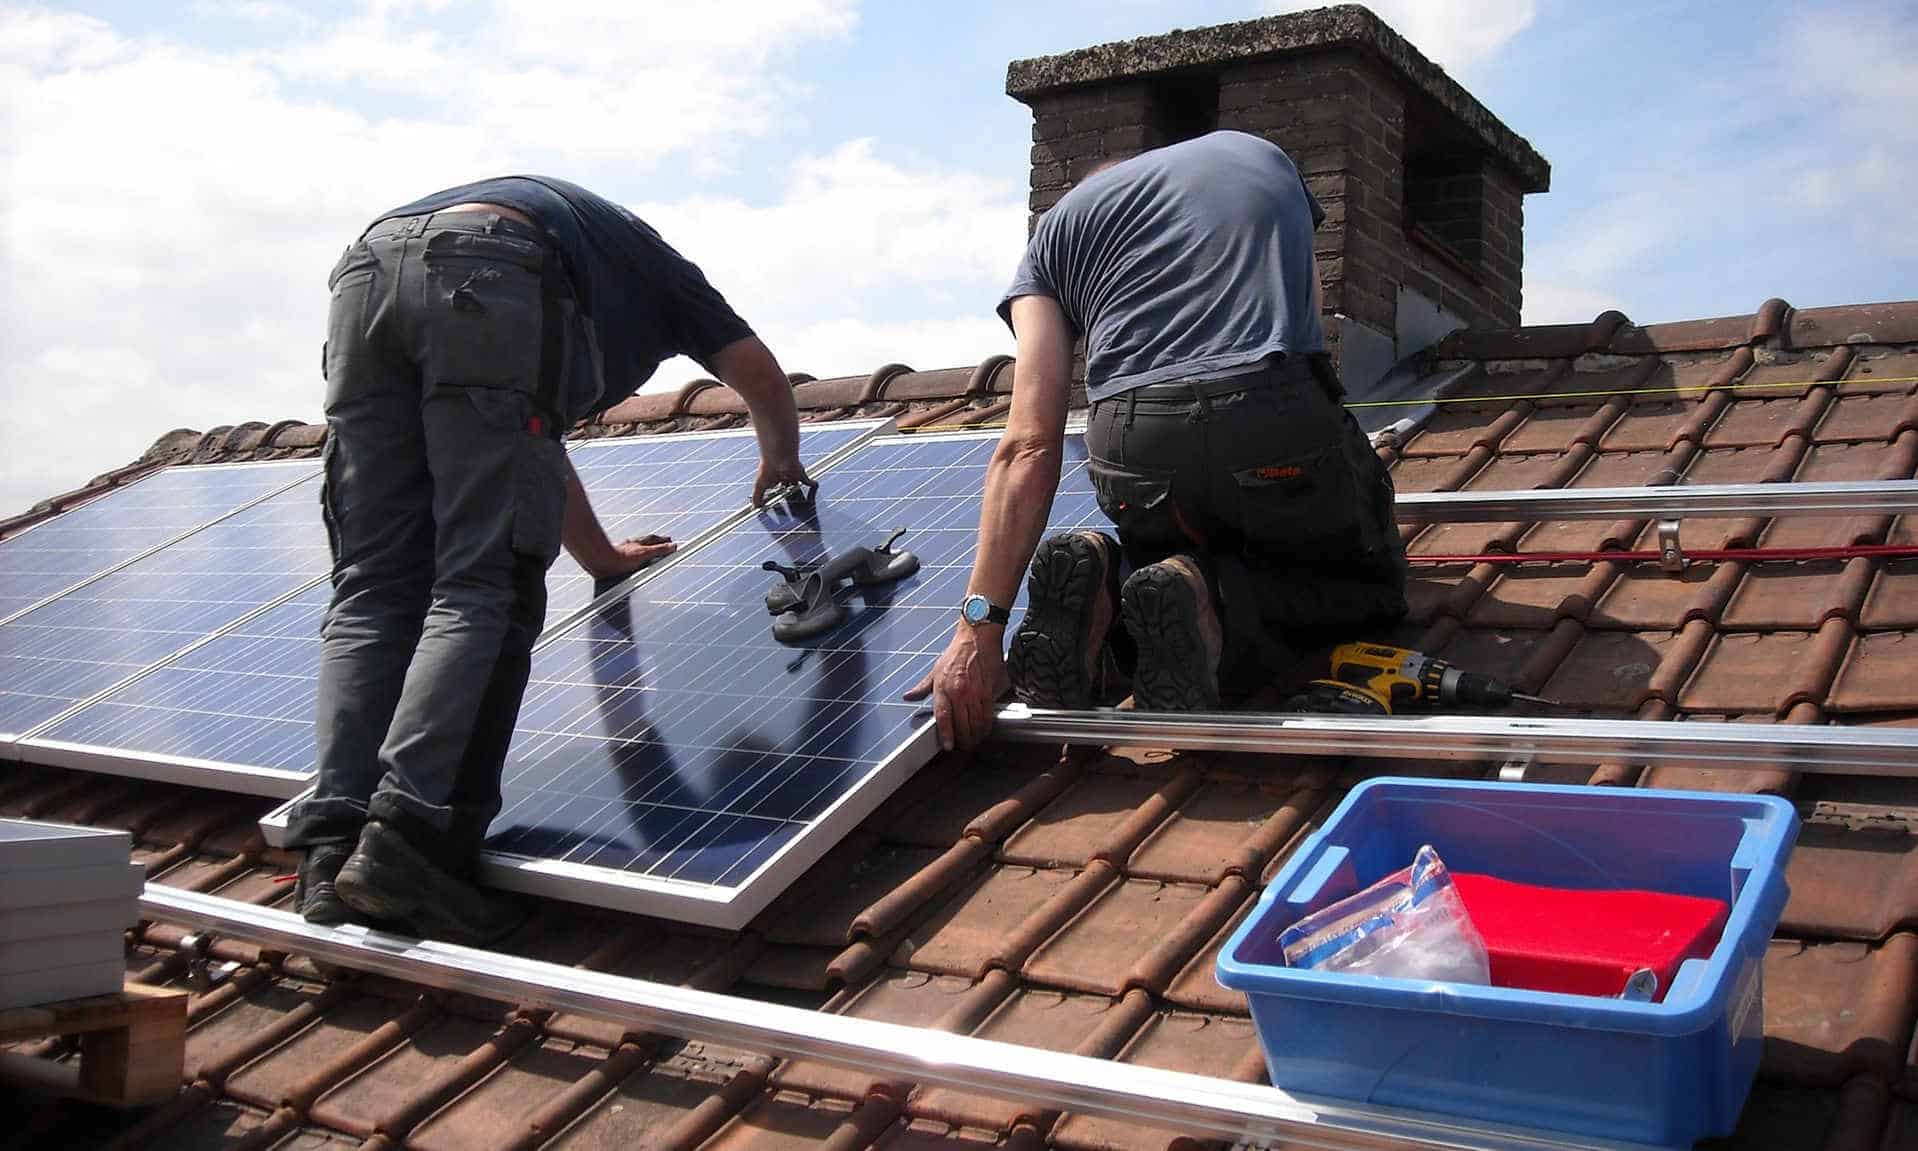
Solar panels are most efficient when installed on the roof.
When panels are fixed on the roof, they can absorb maximum light because they face the sun directly.
The installation can be a bit technical, and it would be wise to have a contractor do it for you. But, it doesn’t harm to gain some knowledge on solar panel installation.
However, if you’re the handy type or are in the construction industry, follow this guide to learn how to mount solar panels on the roof.
What to Consider When Installing Solar Panels on Rooftop
Roof structure
Before you install your panels, you should ensure your roof is in good shape. Because solar panels are meant to serve you for years – some warranties go up to 25 years – your roof should be solid.
In case your roof is damaged, fix this before mounting the panels. Early renovations will save you the trouble and cost of removing the panels and remounting after repairing the roof.
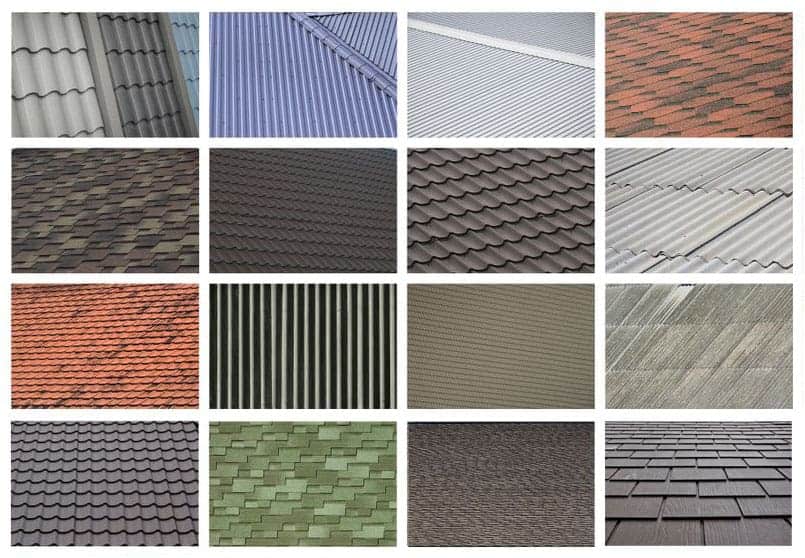
There are various types of roofs, but asphalt shingle roofs are the most common.
House location
Also, consider the location of your house. Is your home likely to be blocked from the sun shortly? For instance, if you have recently planted trees, these could obstruct your panels from the sun when they grow.
Whatever you do, ensure the part of the roof you settle on for your panel is the one that receives the most sunlight.
Roof strength
Another crucial question to ask yourself is whether your roof can support the extra weight of solar panels. Usually, solar panels are not heavy, and they typically weigh between 2 to 4 pounds per square foot. To be safe, you can have a structural engineer check your roof to see if it fits your panels.
Nine Steps to Install Solar Panels On The Roof
Step 1. Layout your materials
First, you have to ensure all the items needed are nearby because you can’t be going from the roof and back all the time.
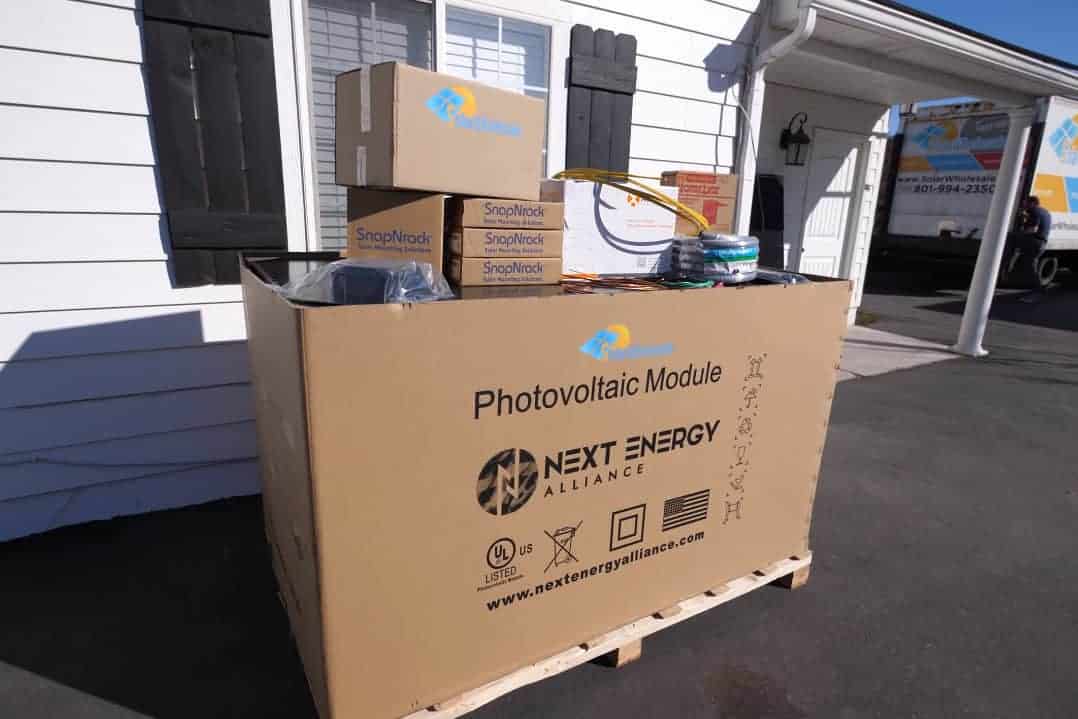
Here are the items you need: Drill and drill bit, a pencil, a chalk line, a tape measure, and a ladder. The rest of the things should come in your solar panel package.
Step 2. Fix the stanchions
Ensure the structure is tilted to at least an 18-degree angle to get the most sun exposure.
Look for the perfect place to fix the stanchions. Stanchions support the panels so that they are not torn from the roof.
The stanchions, which are like screws, should be placed on your roof’s rafters. If you don’t know where the rafters are, use your house’s blueprint to locate them.
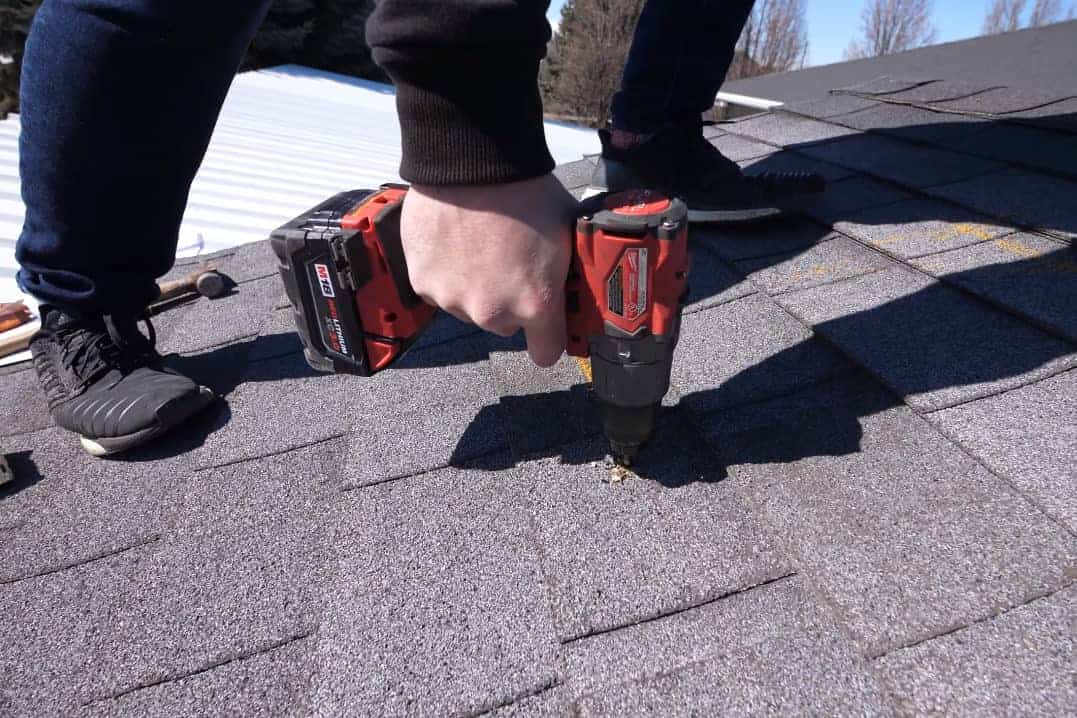
Now you know where your rafters are, so the next step is to fix the stanchions on the roof. Usually, the distance from one stanchion to another should be four feet. Drill holes in the rafters to attach the stanchions.
Step 3. Install the flashing
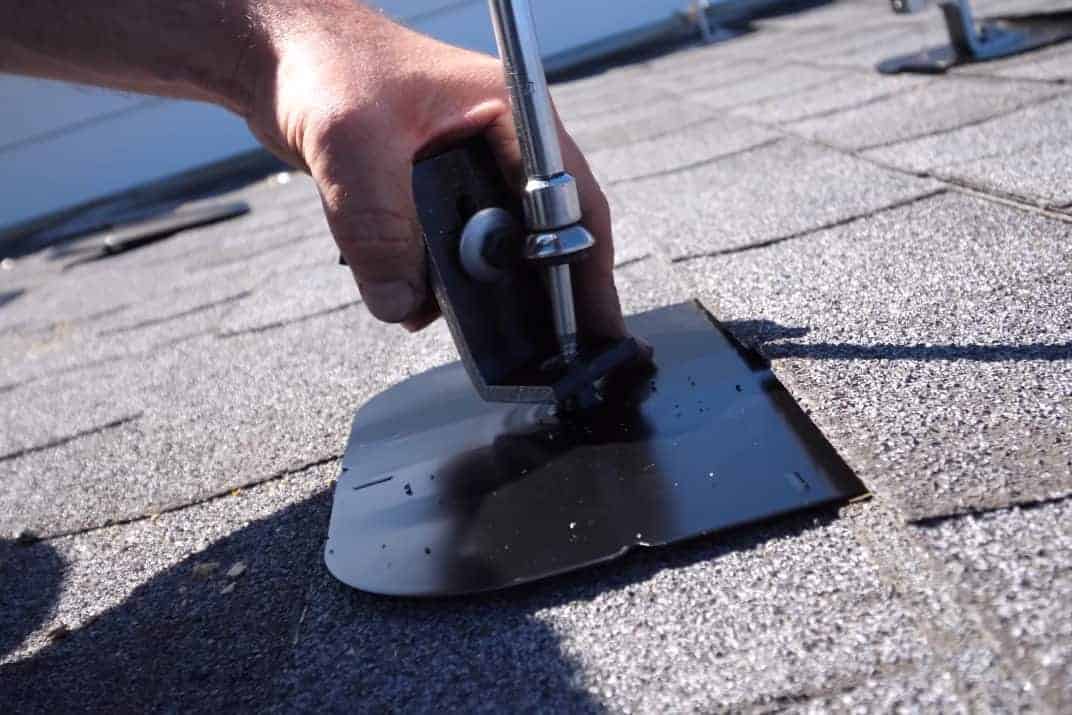
Lift the shingles and put the flashing underneath them.
Fasten the flashing onto the rafters using a bolt.
The work of the flashing is to keep water out of your house once you drill a hole. Apart from the flashing, the bolts also have a seal that also helps to avoid leakage.
Step 4. Attach the rails
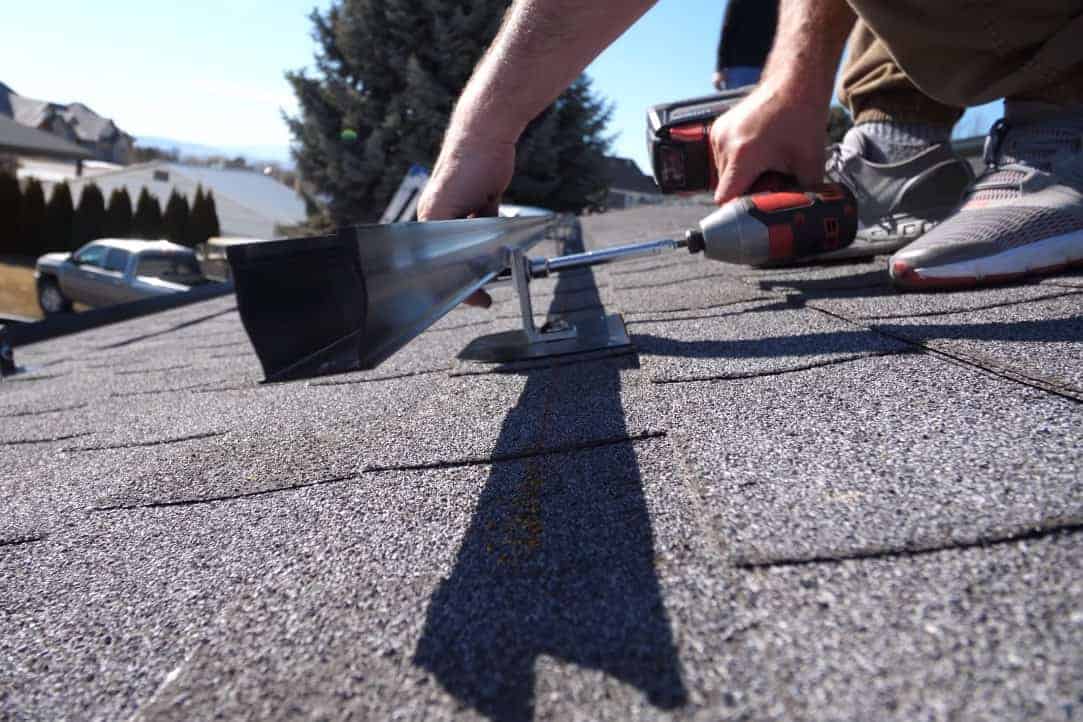
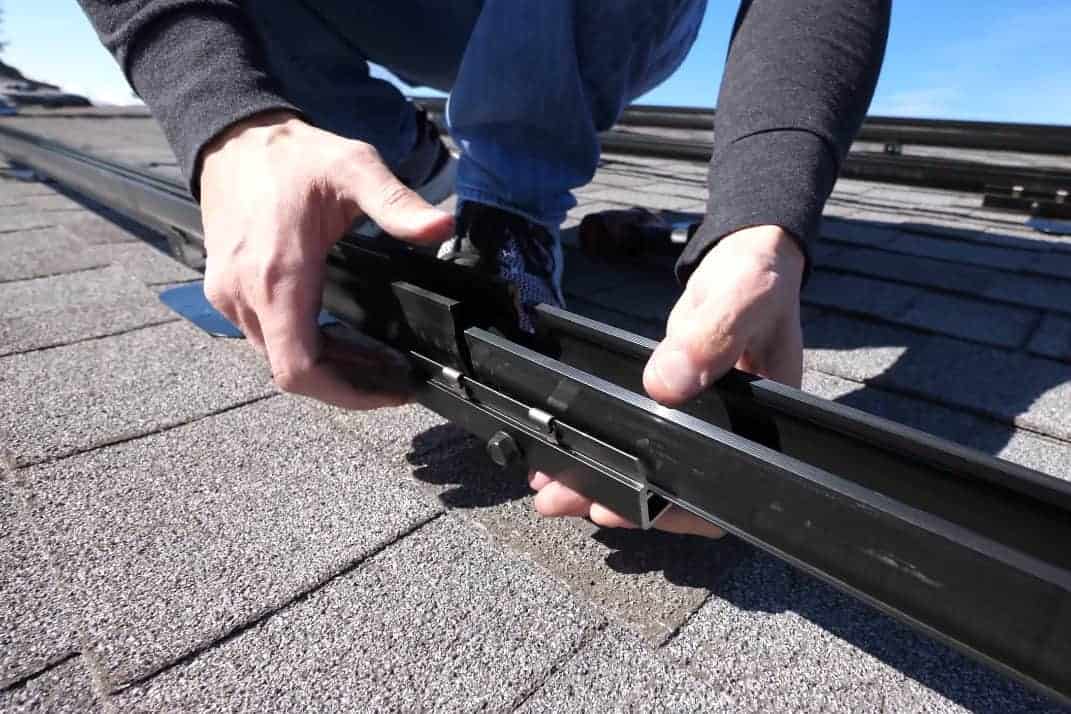
Place the screws in the holes and tighten them. Then use bolts to fix the upper and lower rails to the stanchions. Here, an impact driver will ensure everything is properly fastened.
Step 5. Measure the distance between rails
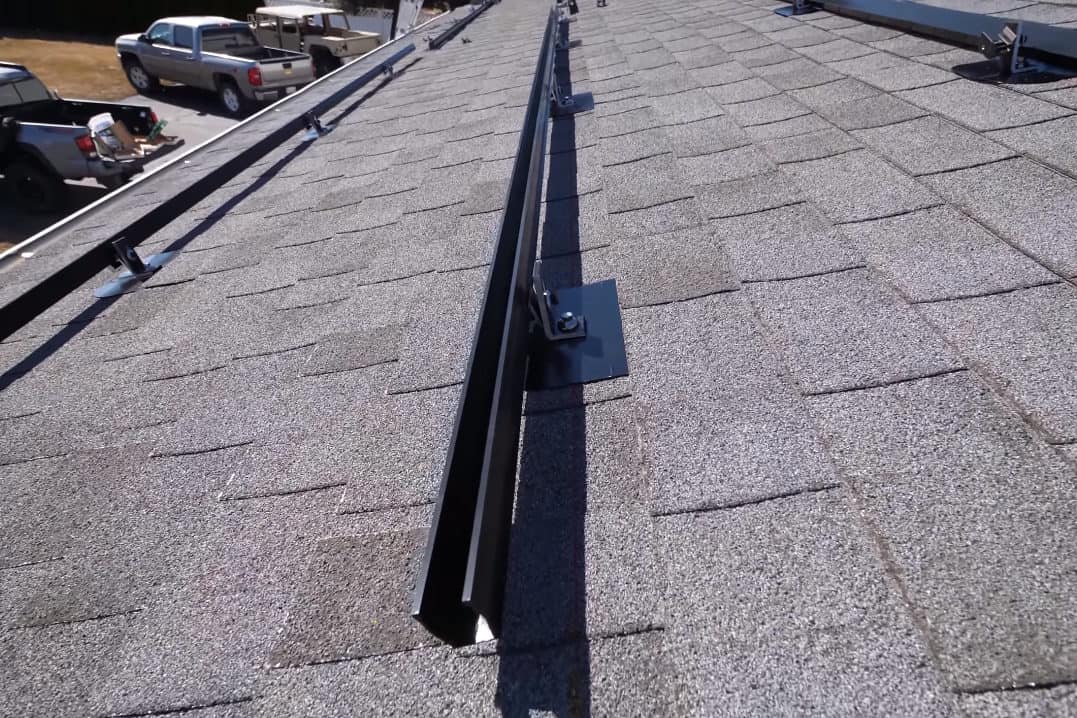
The next step is to ensure the rails are parallel to each other. How? Measure the distance between them using a measuring tape. The diagonal distance should be exactly equal. Should you find the space is not identical, balance the rails accordingly.
Step 6. Place the middle rail
The middle rail should run from the upper rail to the bottom one.
Step 7. The wiring
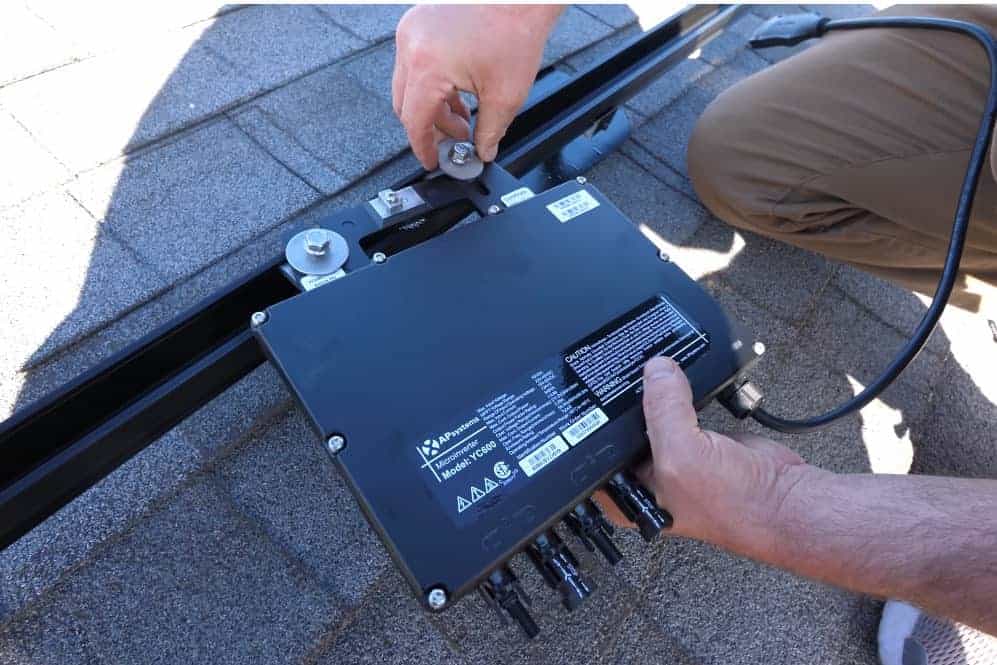
Remember, under every panel, you should set up a power inverter kit. Then, ensure copper wires are on your inverter kits. The connections should be in and out of the solar arrays.
Pull wires from your panels to an electrical meter and out to an electrical sub-panel. Run the wires to the power inverter kits through the rail, which has a trunk. (For more detail read: How to Wire Solar Panels in Series or Parallel?)
Step 8. Mount the panels
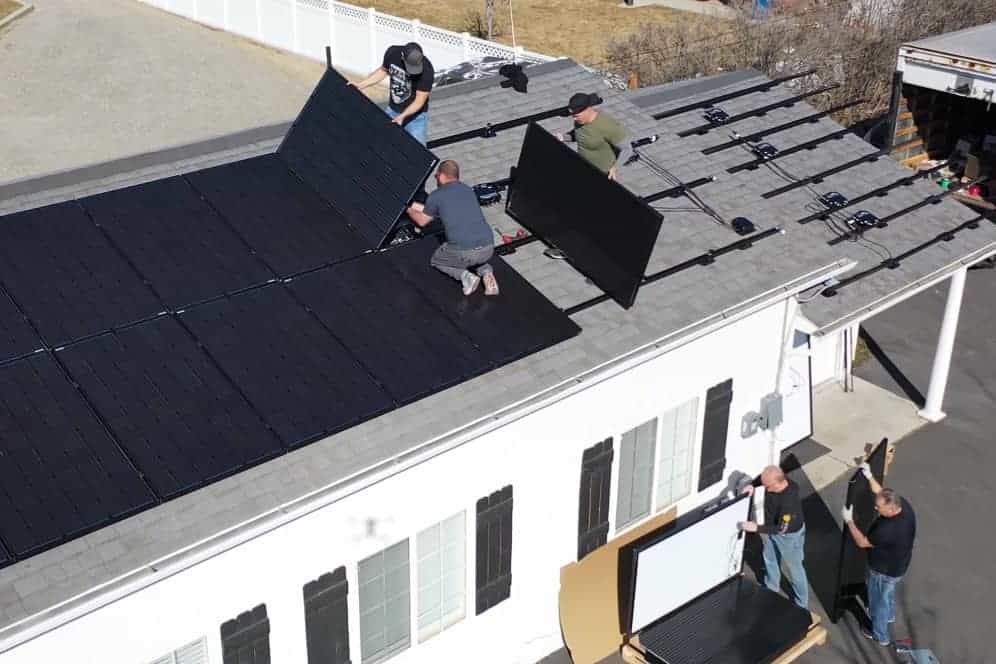
You can mount the solar panels on the stanchions. Ensure the plug connections are linked. Then, fasten the retaining clips onto the rails. This move will bolster your panel in place.
Step 9. Connect to the inverter
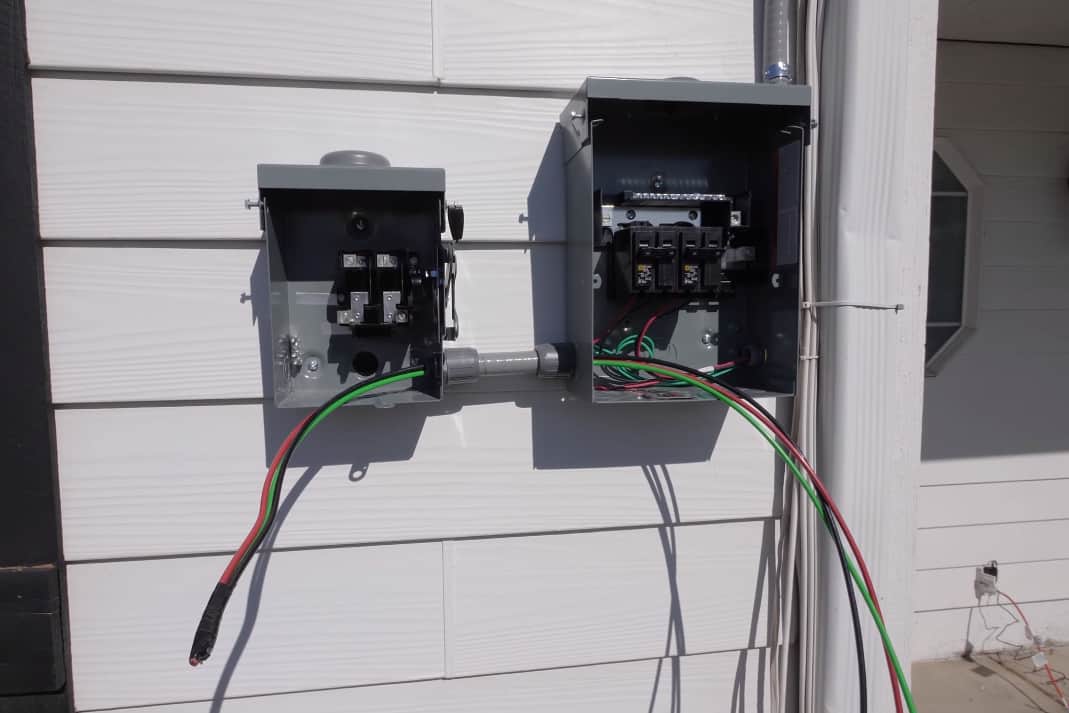
Now it’s time to put power into your solar panels. Shut off your power supply before connecting the solar system to your house.
The next step is to connect your solar inverter to the system. The inverter is what will convert your solar energy from DC to the AC energy your household needs. Ensure the inverter is placed in a well-ventilated area to prevent overheating and is easily accessible for maintenance and monitoring.
Should you decide to keep your inverter outdoors, avoid the hot afternoon sun.
Connect the solar inverter to your battery. The battery comes in handy when your panels are not producing enough energy, such as when it’s cloudy.
Next, link the solar inverter to the consumer unit, also known as a fuse board. This unit protects you in case of an electrical emergency.
How to Mount Solar Panels On Other Types of Roofs
Tile roofs
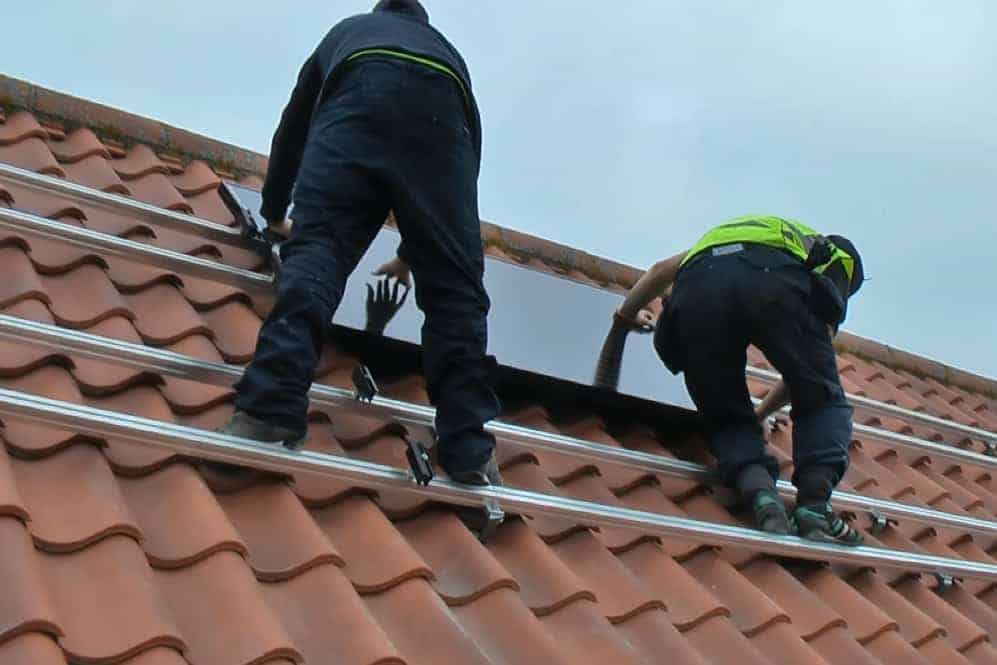
The process is much like the one discussed above on installation on a shingles roof. However, to mount panels on a tile roof, you should take off a couple of tiles.
Then attach the tile hooks and the flashings onto the roof.
The downside of mounting panels on a tile roof is that there might be damage during installation. You might have to replace the tiles after the job is done.
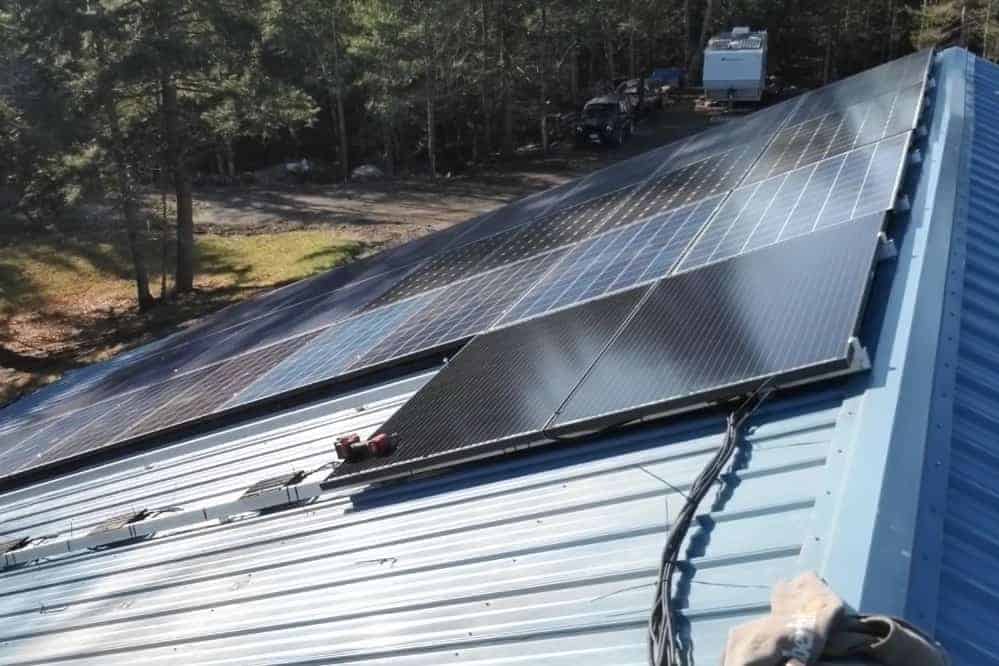
Standing seam metal roof
This type of roof is probably the easiest on which to mount your panels.
One, standing seam metal roofs are durable.
Two, you don’t have to go through the trouble of calculating where the trusses are. Why? You use a U-clamp to fasten the panels, saving you from drilling holes.
Flat roof
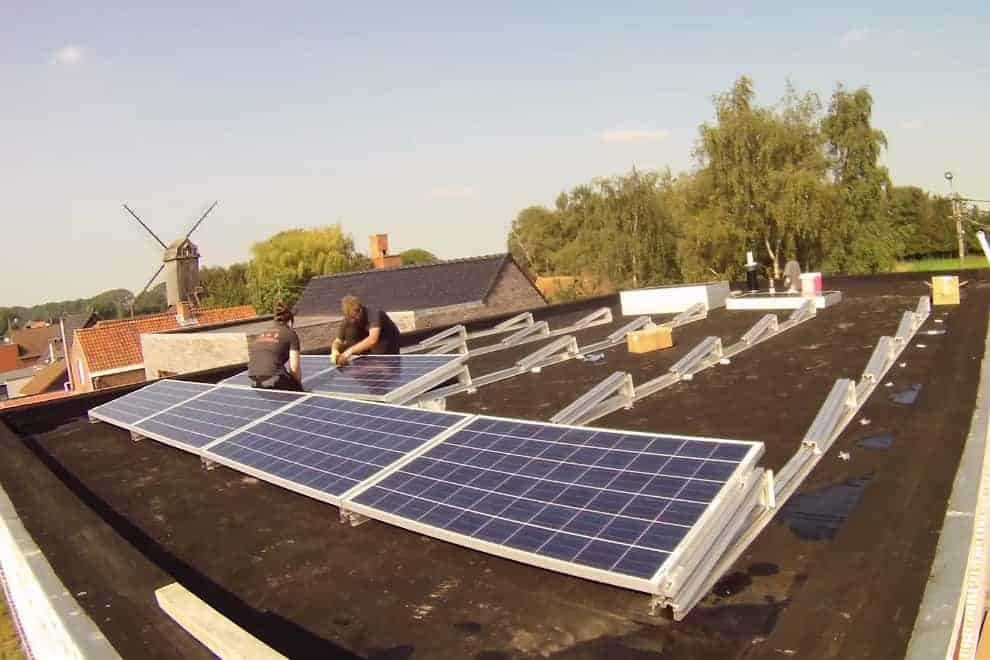
To install your panels on a flat roof, you can use a ballasted racking system. The racking system, which is typically made of metal, supports the solar panels.
The upside of this racking is that you can adjust it, even to a 30-degree angle, to capture as much sunlight as possible.
Frequently Asked Questions
Are solar panels safe for your roof?
The beauty of solar panels is that they offer protection for your roof. They keep your roof from being damaged by harsh weather, and as a result, your roof will serve you longer.
If your house has an attic, you don’t have to worry about overheating. Why? The solar panel will now provide the much-needed shade. The temperatures in your building might even cool by a full five degrees Celsius.
To avoid any problems with your roof, hire a qualified contractor to install your solar panels.
Can lousy weather damage your solar panels?
You don’t have to worry about harsh weather damaging your solar panels or ripping them off your roof. Manufacturers make solar systems in such a way they can withstand even the strongest winds.
Solar panels can handle winds up to 120 mph.
To get the most out of your panels, buy your panels from a reputable firm. The advantage of going for such a company is that they give you quality and warranty to back that up.
Most solar panels have a warranty of up to 25 years.
What if I need a new roof after installing panels?
Most homeowners worry about what to do should they need to replace their roofs after a solar system installation.
The catch here is to ensure you thoroughly check your roof pre-installation. Should you notice any damage, do the renovations at that time. Otherwise, you have to pay for all removal and replacement costs later.
Should I get solar shingles?
Generally, solar shingles work like the traditional roof. Instead of installing the panels on top of your roof, solar shingles act as a roof. In addition to this, they will generate electricity.
If you could use a new roof, you can consider solar shingles. Also, if your roof is likely to cave in under the weight of ordinary solar panels, install solar shingles.
In Summary
If you’ve been wondering how to mount solar panels on the roof the correct way, now it shouldn’t be complicated.
However, you have to consider several issues before installation. One is the shape of your roof, and the other is in the direction of the sun.
After collecting the suitable materials, fix the stanchions onto your roof rafters. Then place the flashing under the shingles to protect your roof from leakages. The next step is to fix the upper and lower rails parallel to each other, then the middle rail. After that, run the wires through the rails to an electrical meter and connect a solar inverter system.
Finally, mount your panels and get ready to start enjoying the benefits of solar.

