Are you preparing to build a solar power system in your house? It is a tendency to have a solar system at home to produce power for electricity needs. That’s economical and eco-friendly, and also an easy way to help you live a green life.
To build a solar power system, you need to buy solar modules, a mounting system, an inverter, batteries, and a charge controller. Among all these components, solar panels are considered to be the most important part, which is responsible for collecting sunlight.
So installing solar panels becomes an important step to build a perfect solar system. While the installation is simple, you should learn the steps carefully and mind the following tips.
Tools and Materials
Junction boxes and slices- Junction boxes and slices are required to complete wiring. Since different solar systems have multiple circuits, you need to buy junction slices and boxes that can hold the particular amperage and voltage demands.
Some of them are used outside, and some others are for indoors. They should meet separate ratings.
AC disconnects and fuses- These two tools are needed for safety considerations. Generally, the shipment list will include a non-fused manual AC disconnect that allows you to feedback on the grid. And fused manual AC disconnect offers protection for the circuits when the current is over.
EMT & ENT Conduits- Electrical Metallic Tubing (EMT) is always a necessary material for mounting. Although ENT conduits are cheaper and easy to use, they are usually banned from use for common building codes.
Tubes- Tubes are required for mountings, and they are used mainly for sealant purposes.
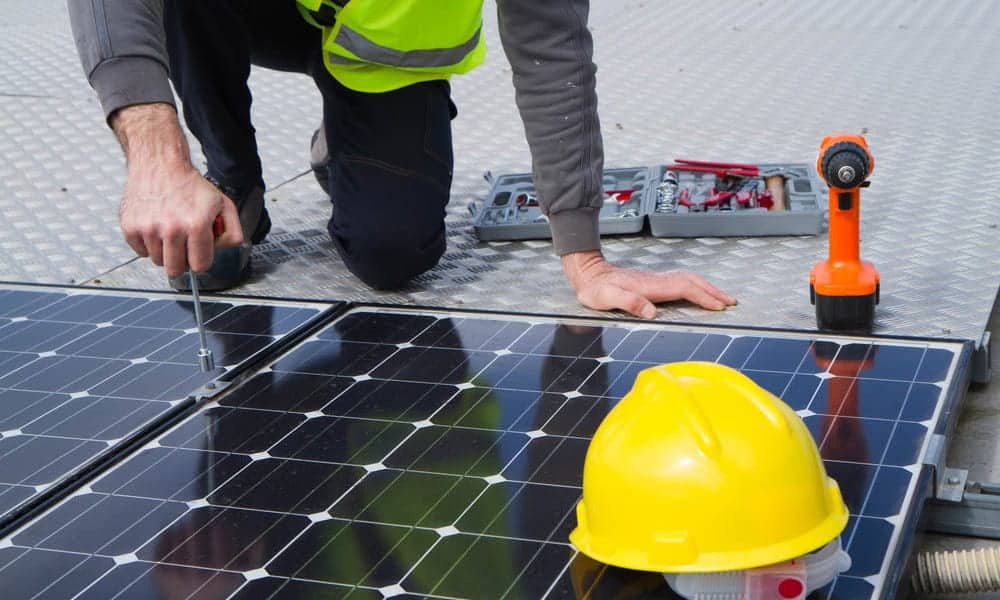
Drill- A good drill is required to operate the installation. Some shipments may include a drill, and some others may not. But for the sake of easy operation, you buy a user-friendly drill if you don’t have one.
Concrete-Concrete should be available for such projects in case the installation requires some adhesion.
Steps for installing solar panels
Step 1: Unpacking
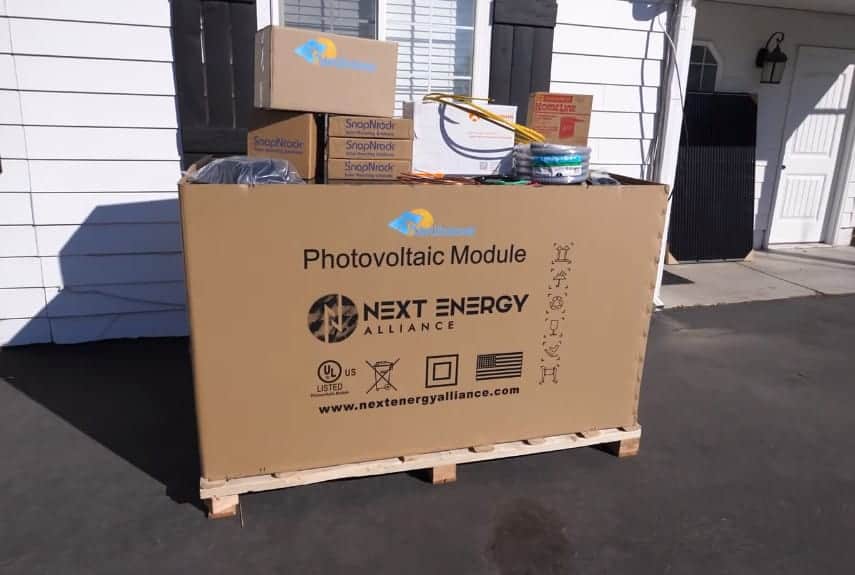
To install solar panels smoothly, you should deal with every tiny step. After receiving the package, the first thing you should do is unfold the shipment and check out all the included items.
- You can carry it to an empty or spacious room to have a careful check. It is easy to see all the components.
- Count how many parts you get and label each of them. Then you place them apart according to their functions so that you won’t lose any small equipment.
- Take out the given package list and compare it with the placed contents. Find out whether anything quoted is delivered.
- If you find that some parts are missing or broken, you should take photos and contact the utility timely to deal with the problem.
- If you finish the examination and find no issues, then you can make a list of some extra tools and materials to shop by yourself.
- If you are prepared to install it right away, you can begin your work now with the help of the following steps. If not, place them properly to avoid ruining them, especially the batteries.
Step 2: Find the most appropriate location
After checking for the package, the next thing to do is install the modules. First of all, you need to search for your house carefully to find a certain place for the installation. As we all know, many factors will influence the power production of a solar system, among which the location matters a lot.
- Although it is not a regulation, the most common location for a solar panel system is the roof. Of course, some of you may want to install it on the ground. You are free to make the decision.
- We recommend you install the model on the roof because usually, the top roof can be best exposed to the sunshine. In that case, your solar panels will enjoy the most sunlight and longest sun hours or peak hours to generate solar power.
- But you should know that not any corner of the roof can be the best spot. You also need to check for the directions and angles to find the best spot on the top of the roof so that the system will have the highest working efficiency.
- Thus, select a location for your modules to make sure that they can be perfectly exposed to the sunshine and gather the most sunlight for most days of the year.
Step 3: Establish the Platform
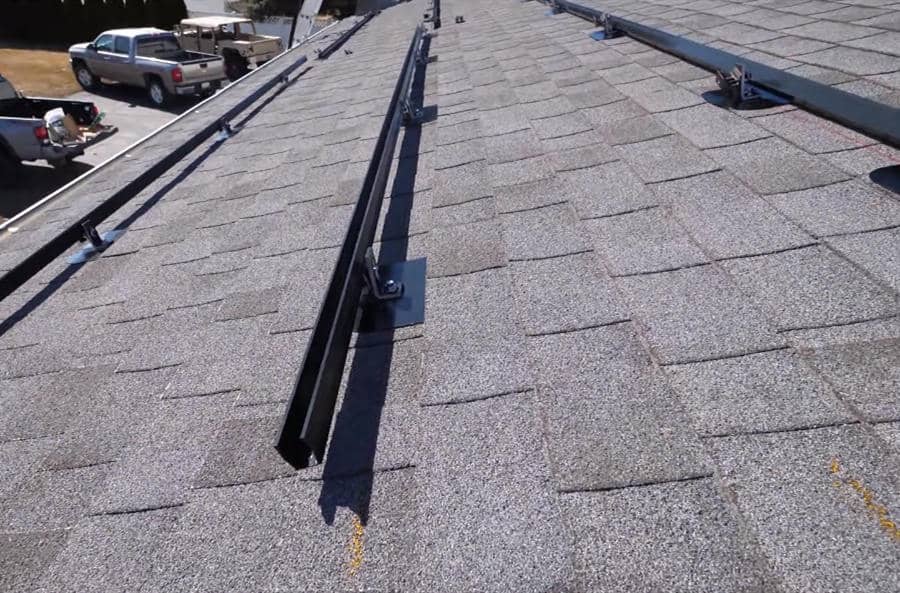
Since you have selected a location, then you can go about installing and mounting. Before placing the solar panel, you should build a stage first on the top of the roof.
- In this step, you need to prepare a space to place the solar panels. Namely, there should be a platform for your modules. And you are allowed to use metal rails like aluminum rails to build the platform.
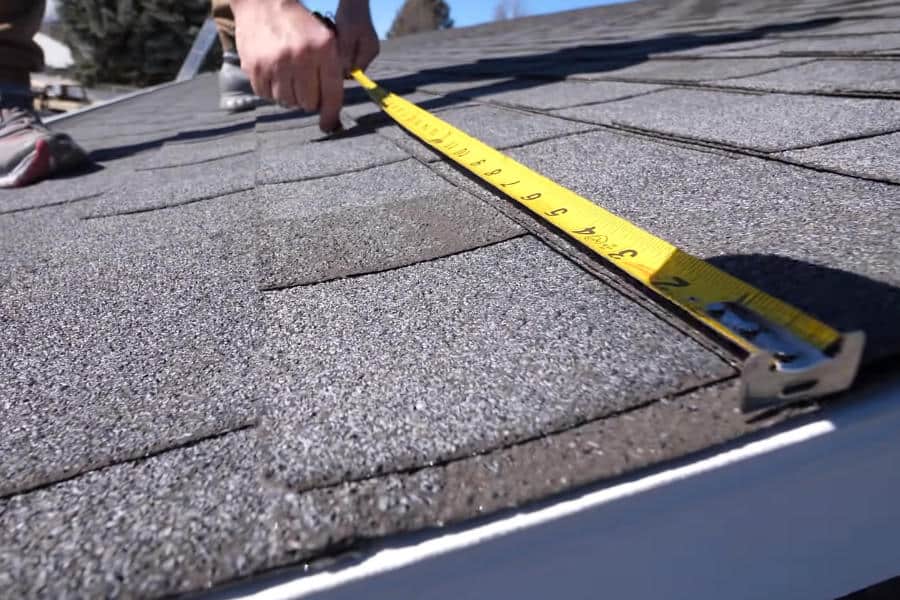
- In terms of the size of the platform, you need to make specific calculations of your panel’s specifications. Also, consider the weight of the model so that the mounting system can withstand all potential bad conditions such as stormy weather.
- Construct dedicated conduits to connect the outdoor platform to the corresponding receiver inside the house. In that case, solar power can be transported and converted to use.
Step 4: Arrange the solar panels
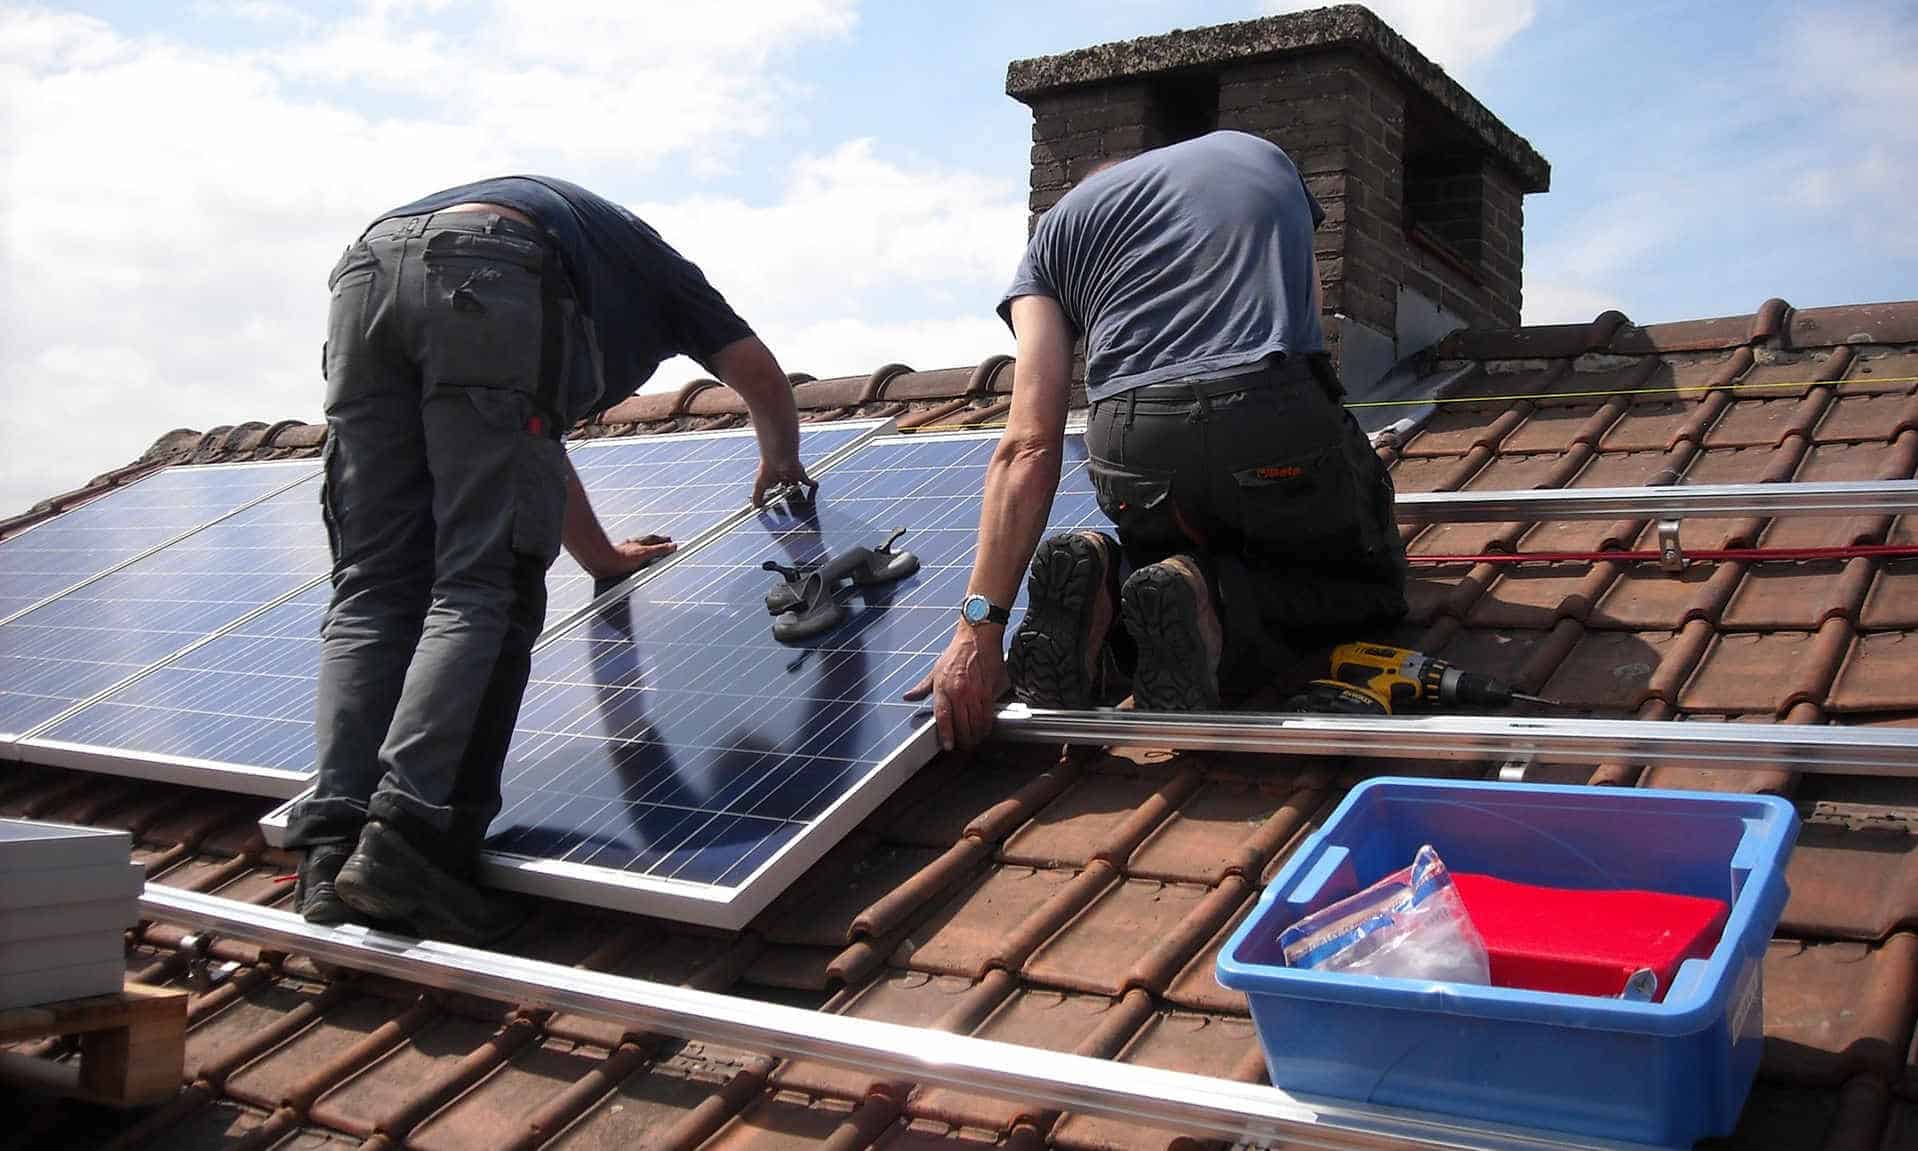
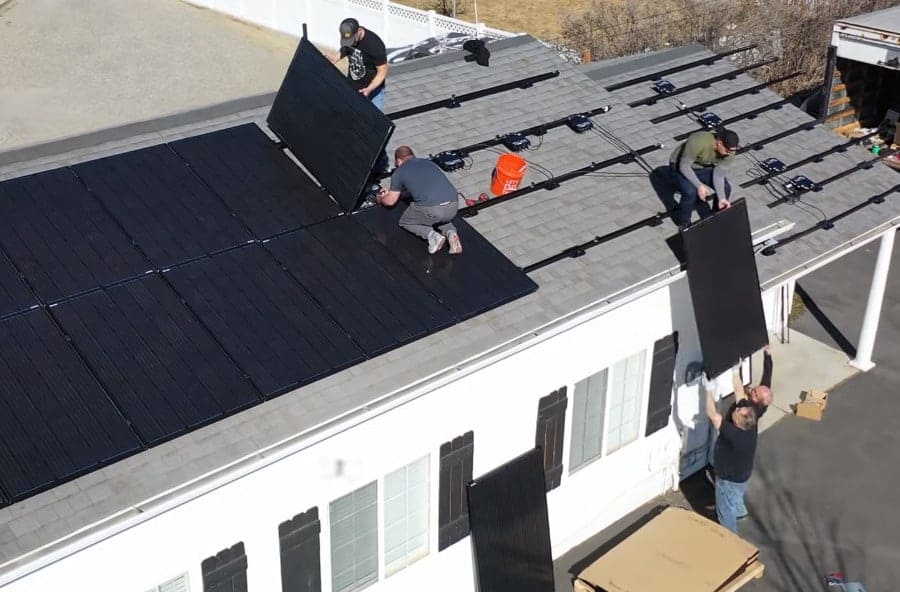
When you finish establishing the platform, you can place the panels on it. In this stage, you need more professional tools and much more cautiousness.
- If you plan to do it by yourself, you should make sure that all needed tools including clamps, brackets, pincers, and bolts are handy. Then you use them to mount the panels.
- Also, you may need some other materials like meters, tubes, or something else to fix the modules. The purpose is to fix the solar panels on the platform firmly so that they won’t fall off when used even on bad days.
- After arranging, check for the security of the mounting to ensure stability.
Good to know: During the mounting of panels on the roof, always be careful and make some safety protections in case of any accidents.
Step 5: Wiring
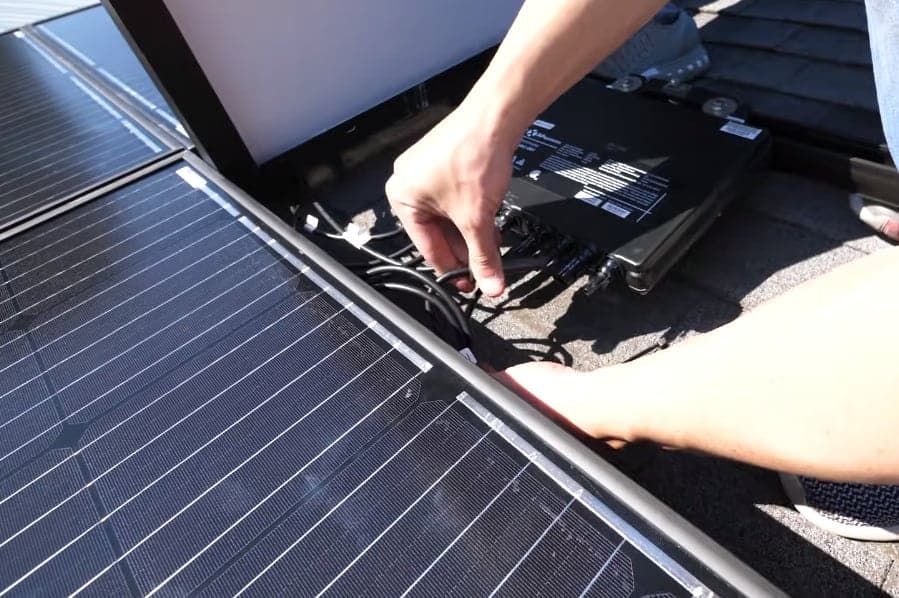
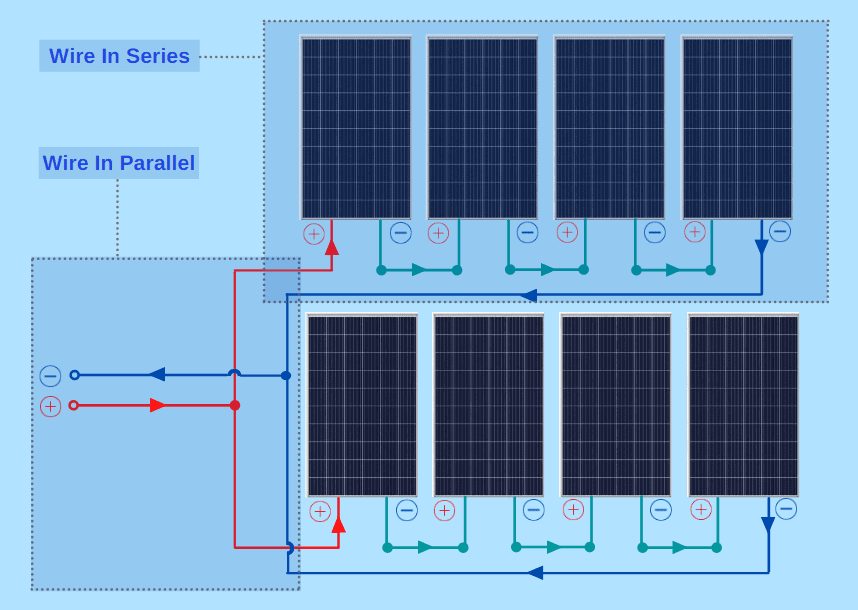
After placing the solar panels, you enter the next step — wire the solar panels together. During that process, you need some junction boxes and fuses.
- You need slice boxes and fuses to improve and perfect the safety and protection of the system. Junction boxes are added to better insulate the power inside the modules. Some fuses act as additional protectors.
- Therefore, you can make sure that there won’t be power leakage when the model transmits power. Also, over-current accidents can be effectively avoided.
- Having wired the junction and fuse boxes, the generated solar power will be imported and exported to your battery bank and inverter smoothly and safely.
- Good to know: It is significant to wire the panels because it is directly related to your safety. So if you are a layman of wiring, you can read our article: How to Wire Solar Panels in Series or Parallel.
Step 6: Connect the Electrical Components
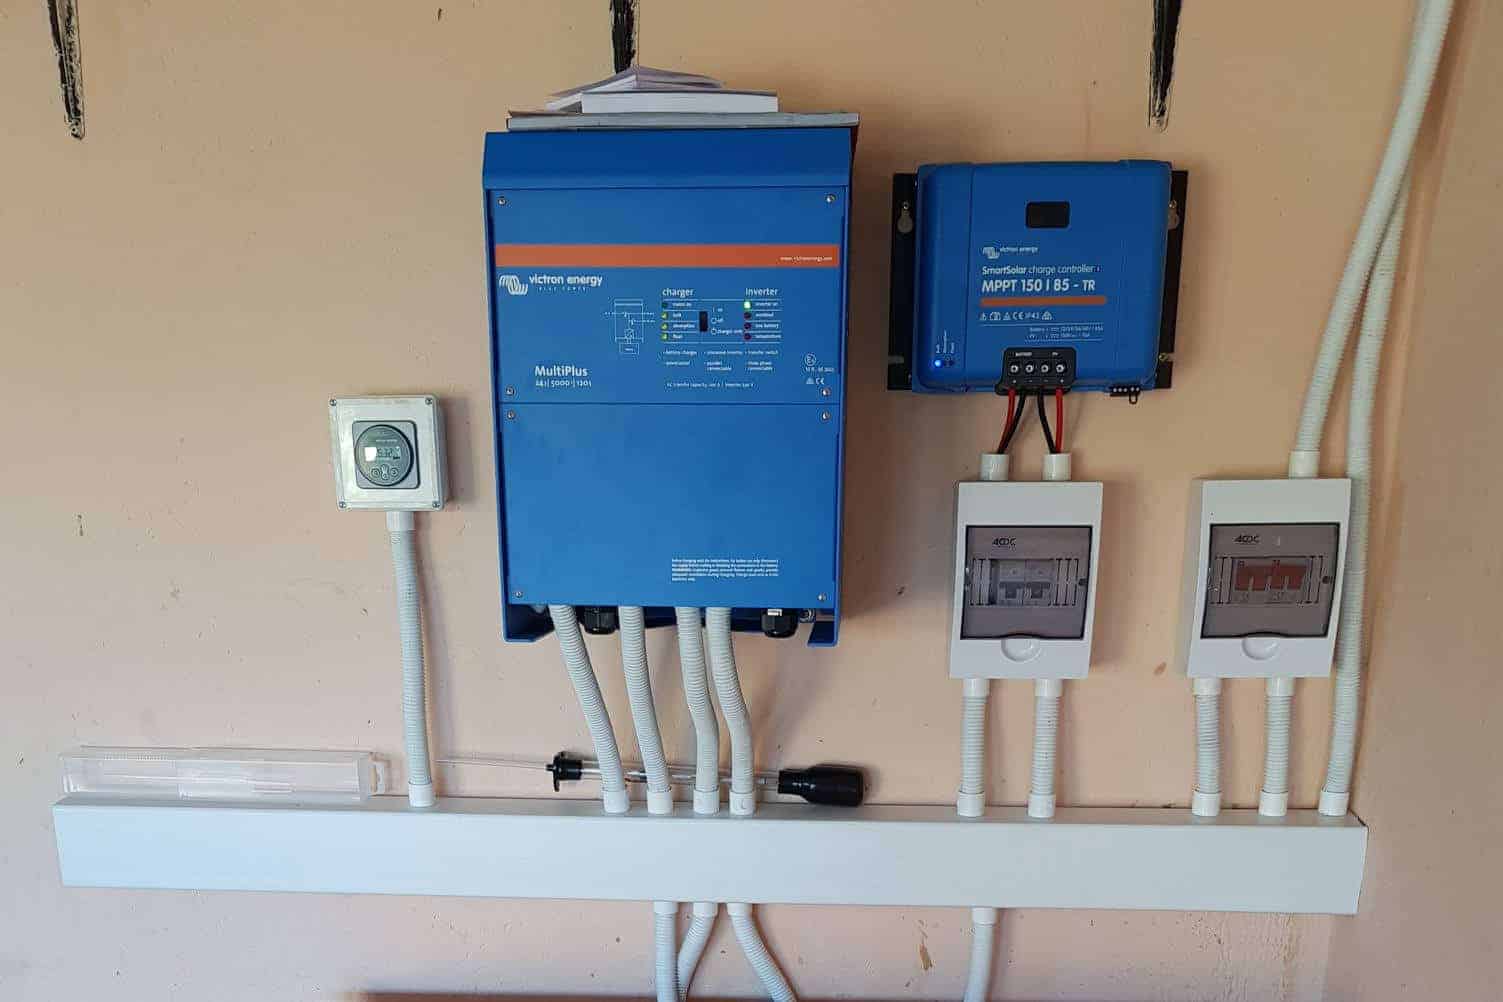
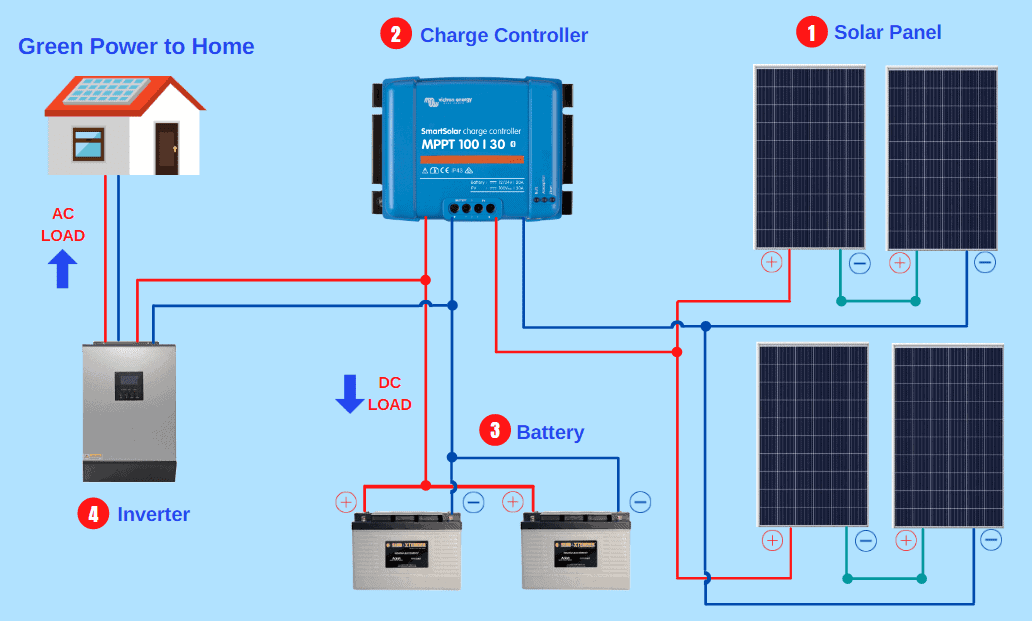
With all the mounting tasks finished, the next stage is to connect the electrical components properly. According to your various needs, there could be a battery, an inverter, and a charge controller.
- Before you connect your panels with these electrical components, you need to calculate their precise parameters to make sure that they can perform smoothly together. You can learn how to calculate the needed specifications from the article Calculating Solar Panel, Battery, and Inverter Charge.
- If you want your battery to serve as a power bank, you’d better guarantee connections between the panels, charge controller, battery, and inverter are all safe and correct. Then you can enjoy the electricity from the sun and live an environmentally friendly life.
Frequently Asked Questions
Solar System Maintenance
If you are wondering whether solar system maintenance will cost you a lot of money, you can relax. You just need to pay for the components and installation. (For more detail read: How Long Does It Take for Solar Panels to Pay for Themselves?)
Since all the components are carefully installed and fixed, also, most of them are manufactured with high durability, there is little need to maintain the system.
But for the sake of safety, you should check the wiring regularly, like once a year. As for the system, you simply need to examine it every 4 years.
In terms of cleaning, as the solar system is usually mounted outdoors, it barely needs cleaning. You can simply wash it whenever you deem necessary. But it is not very necessary, for it could be rainy from time to time.
Grounding your system
This is a crucial point for your installation. The main reason is that the earthed electrical system can be better protected, avoiding being shocked, power surges, or other potential risks.
Besides, whenever circuit defaults happen, grounding can offer a safer pathway for the current. In this way, the current accidents can be reduced.
Video: DIY solar panel installation
conclusion
A solar panel system is becoming increasingly popular, and you should install one. With the help of our detailed steps and guides, you can almost handle the installation effortlessly. Even if you can’t deal with it, you can find an expert to help.

