If you spend a lot of your time camping or traveling, an RV solar installation might be an excellent idea.
Installing a solar panel on your RV could save you electricity costs and help you keep the environment clean. Besides, you don’t have to worry about charging your devices or keeping the food in your fridge fresh when you’re in a remote place.
Besides, solar will allow you to go as far off the grid as you wish without worrying about electricity.
Further, solar panels will provide the quiet life you need, unlike generators which can be very noisy.
Although an RV doesn’t have as much space to install a solar panel as a house roof, you can still maximize it. How? You should get a smaller-sized system.
The Checklist When Doing RV Solar Installation
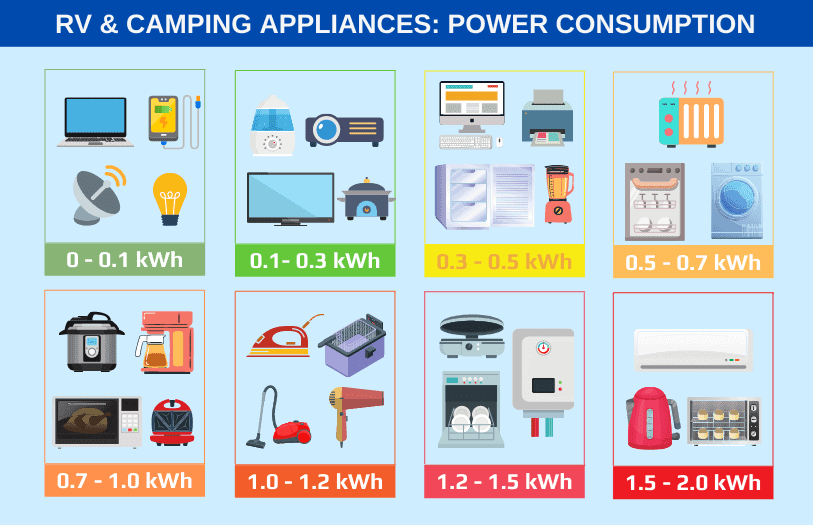
Calculate your power demands
This calculation will help you to decide on the solar system size you need for your RV.
The trick here is to get a size that doesn’t exceed your RV roof space. If you need very big panels, you have to cut down your electricity demands.
How many panels to power your RV?
The majority of RV solar panels have a wattage of between 100w and 400w. The total wattage for a system will vary depending on your needs.
Therefore, the crucial question is what this wattage can power.
Let’s see what the 800w can power in your RV. If you have five hours of direct sunlight in a day, then you’ll produce 4,000wh daily.
5 x 800 = 4,000Wh
Let’s say you want to power a fridge whose daily consumption is as follows:
300W x 24 hrs = 7,200Wh
This means you won’t be able to keep the mini-fridge running an entire day.
But, if you want to use smaller devices such as a lightbulb, a TV, or a laptop, you can if their daily consumption rate is as follows:
TV – 200 W x 3hrs = 600Wh
Lightbulb – 75 W x 6hrs = 450Wh
Microwave – 800 W x 4hrs = 3200Wh
These calculations give you a rough idea of how many solar panels you need: four 200-watt panels.
How to Calculate Your RV Solar Power Needs
Know your budget
How much are you willing to spend on the system. If you can’t buy the complete unit, start with a smaller system. For instance, you can buy a suitable charge controller but get fewer panels. Later, when your budget allows, you can add more solar panels.
For instance, a 100-watt conventional monocrystalline panel of 22″ by 48″ can cost around $100, while a back-contact monocrystalline panel with the same wattage may cost $200. Thus, your budget considerations might also be influenced by the amount of available space for panel installation.
Permanent vs. Portable Solar Panels
You need to decide whether to install a permanent fixture or opt for a portable solar kit.
The advantage of the fixed kit is that you don’t have to worry about harsh weather. This kit will withstand any weather and continue charging.
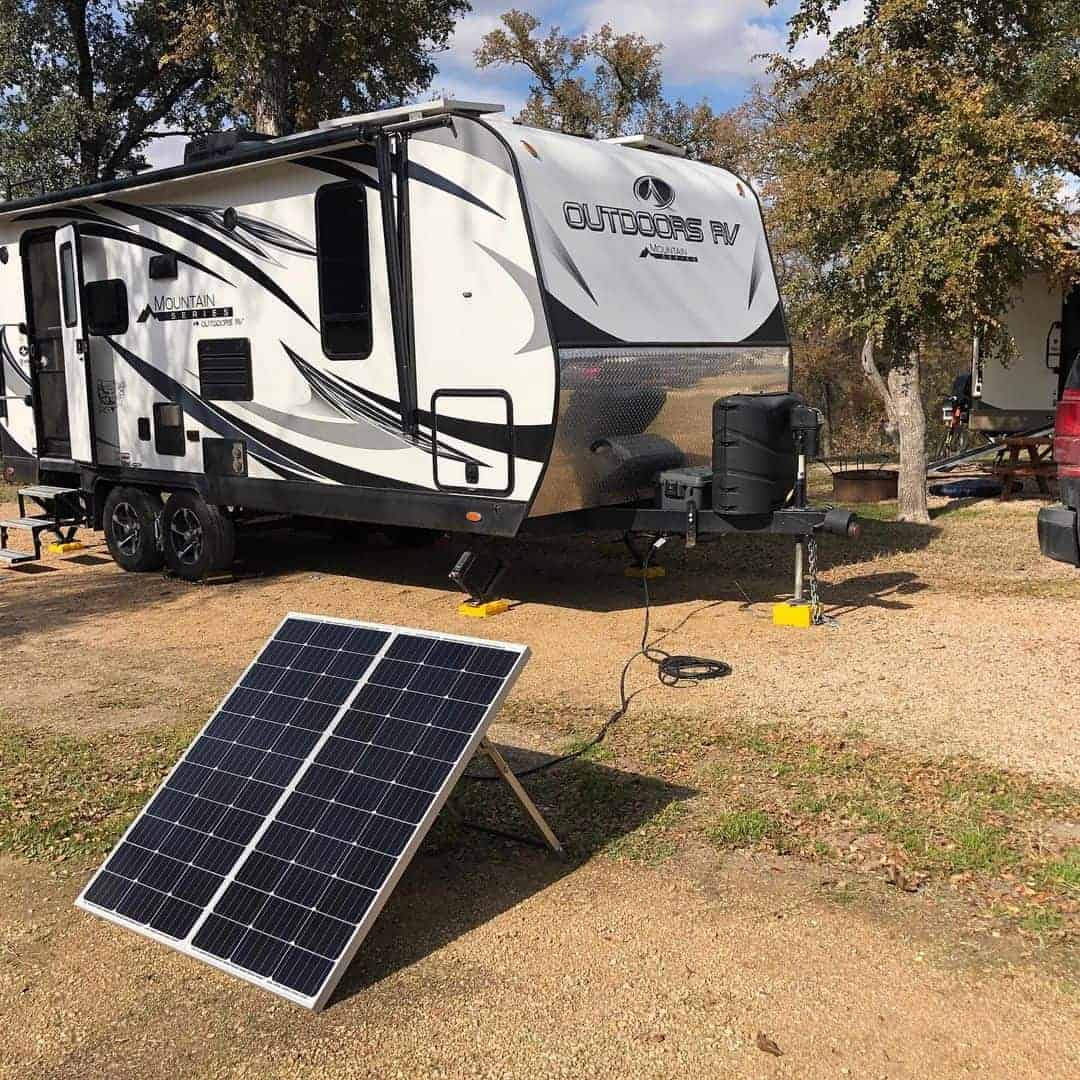
On the other hand, a portable solar kit provides some form of flexibility. You can charge your RV’s battery wherever you’re parked. If you park under a shade, you can place the portable solar kit under the sun.
Besides, the portable solar kit is much easier to install as there’s no wiring involved.
Getting The Job Done
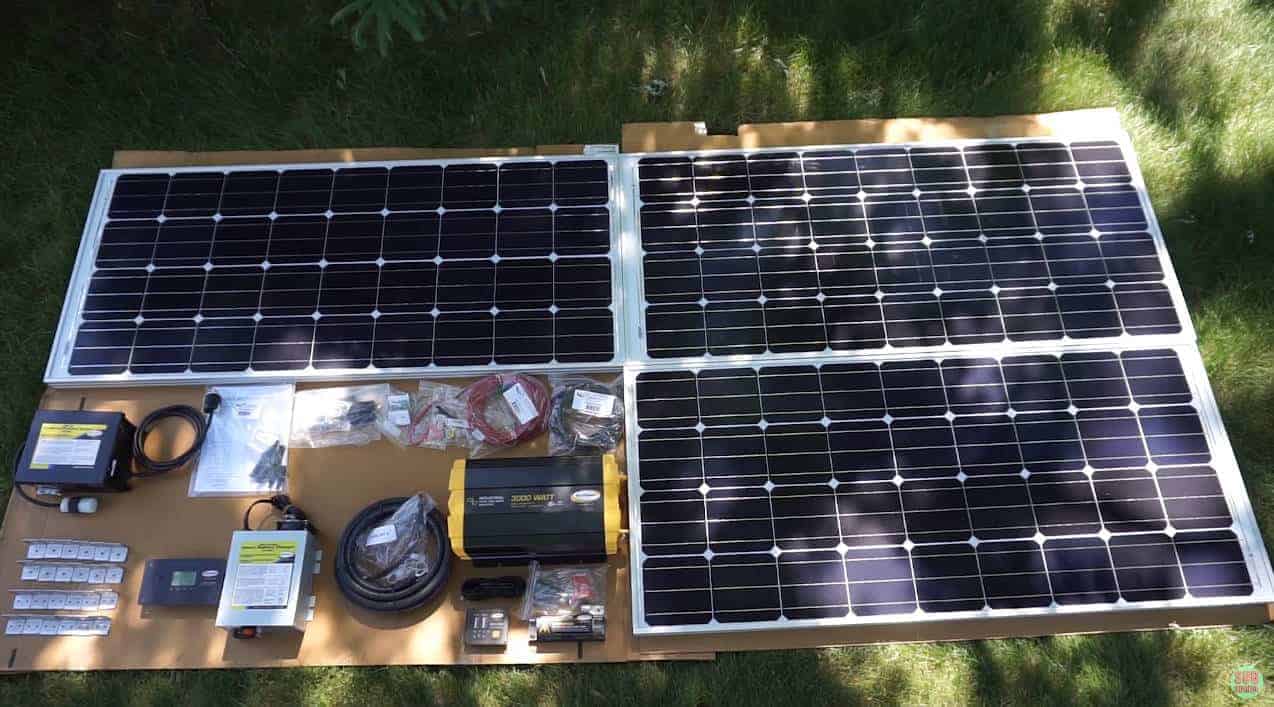
What items do you need for RV solar installation?
- Solar panels– There are various sizes and types.
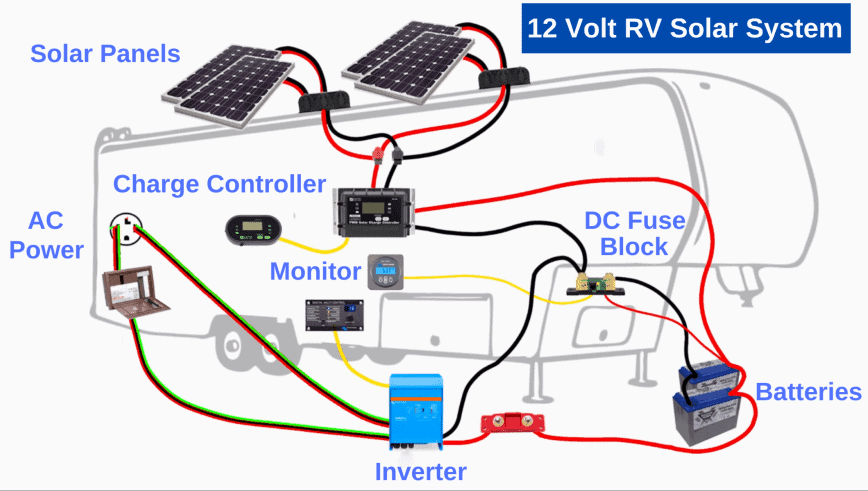
- Batteries and monitor– You need the batteries to store the energy your panels produce to save you, especially at night. The monitor helps you know your battery levels.
- Solar charge controllers– They prevent overcharging of batteries.
- Inverters– Because you need to use AC for power, they convert this from DC energy.
- Cables– They connect from the panels to the batteries.
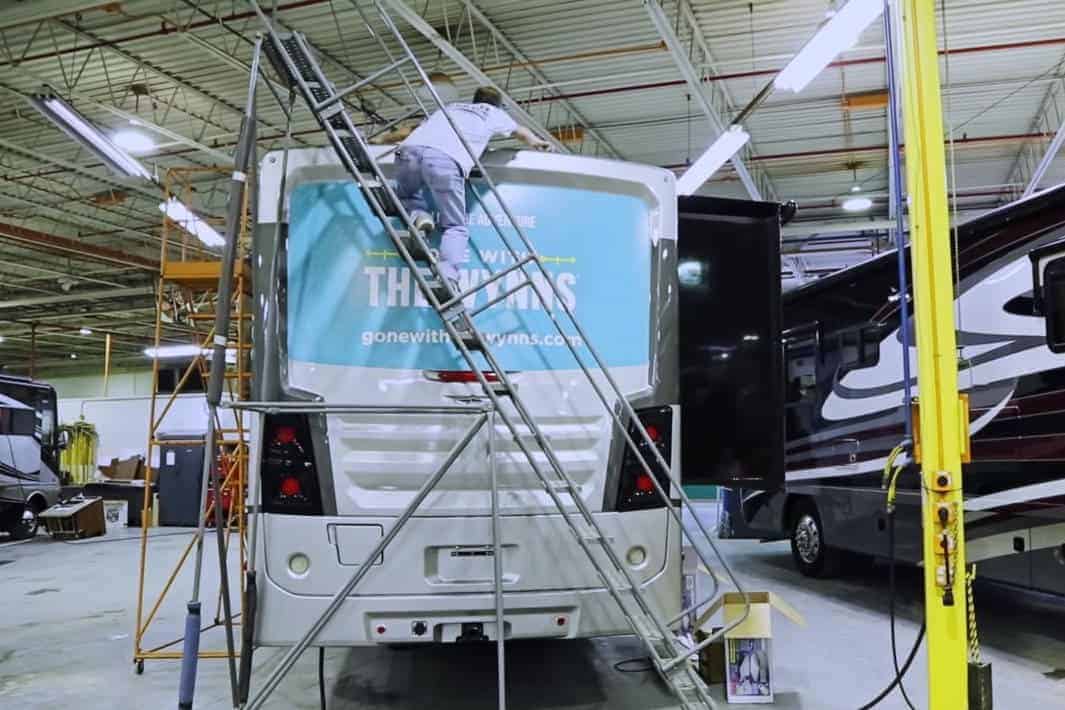
Step 1. Check The Roof for Damage
The first step is to examine your roof for any damaged areas. If you find any problems, it would be wiser to fix them before installing your panel.
Discovering the damage after mounting the solar panels on your RV will cost you money to fix. It will also waste time redoing the panel.
Note: Try to do most of the assembly on the ground as an RV solar installation is slightly more complex than the roof of your house.
You can also reach out to your RV seller to get information about the roof before buying the mounting hardware.
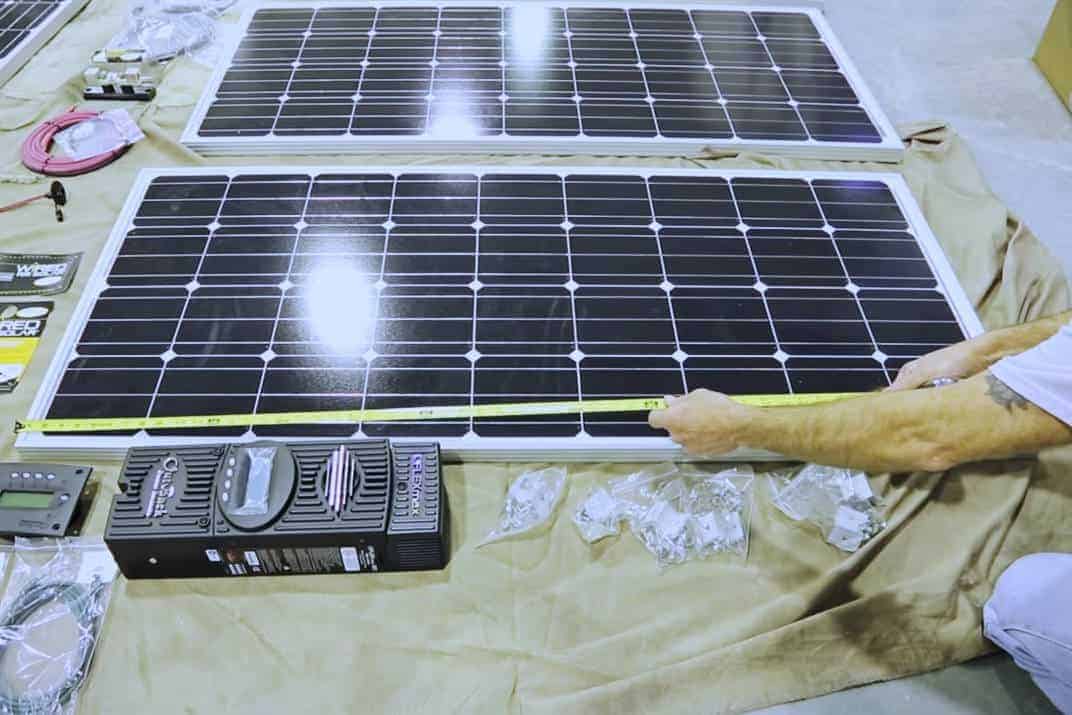
Step 2. Measure The Roof Space
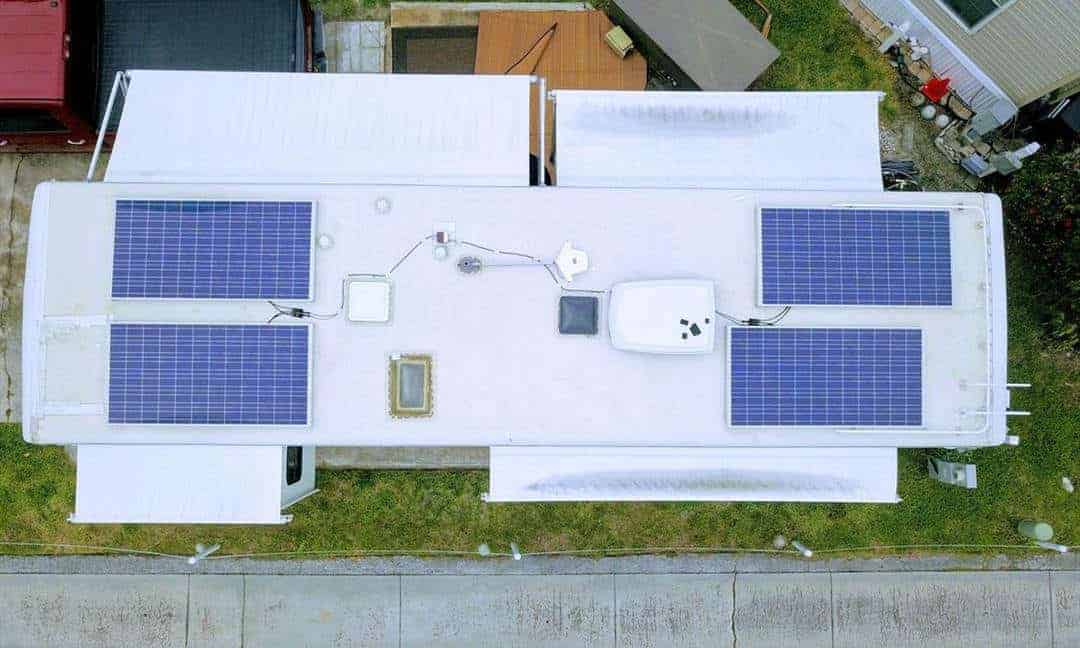
To get an idea of how you will lay out your solar system and the space it will take, use the panel’s cardboard packaging. Place the boxes as you would the panels.
However, note that the cardboard boxes are slightly bigger than the panels.
Mark around the boxes. Take the measurements using a tape measure.
One key consideration when mapping the roof is to avoid stuff that might block your panels. These items could be your RV’s air conditioner or even the TV antennae.
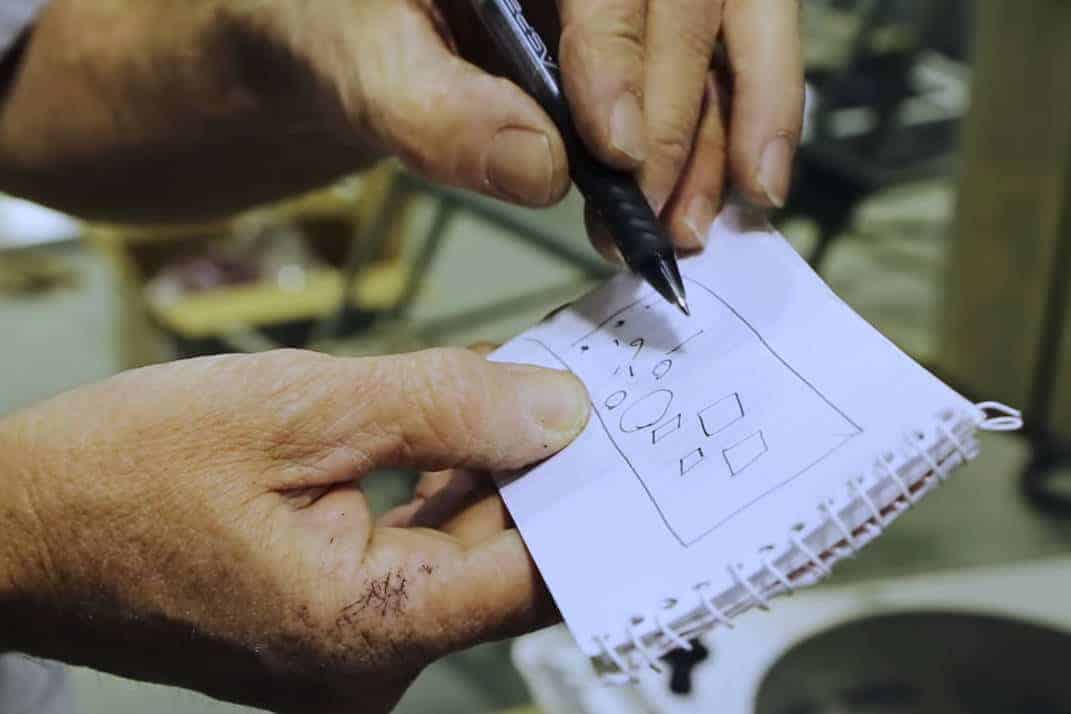
Step 3. Do A Quick Draft
On a plain piece of paper, draw the plan as you would want it on your RV’s roof. For instance, draw one big rectangle to represent the RV’s roof.
Then mark the smaller items inside the rectangle. Insert the measurements on the length and width of these boxes.
Step 4. Fix The Mounting Hardware
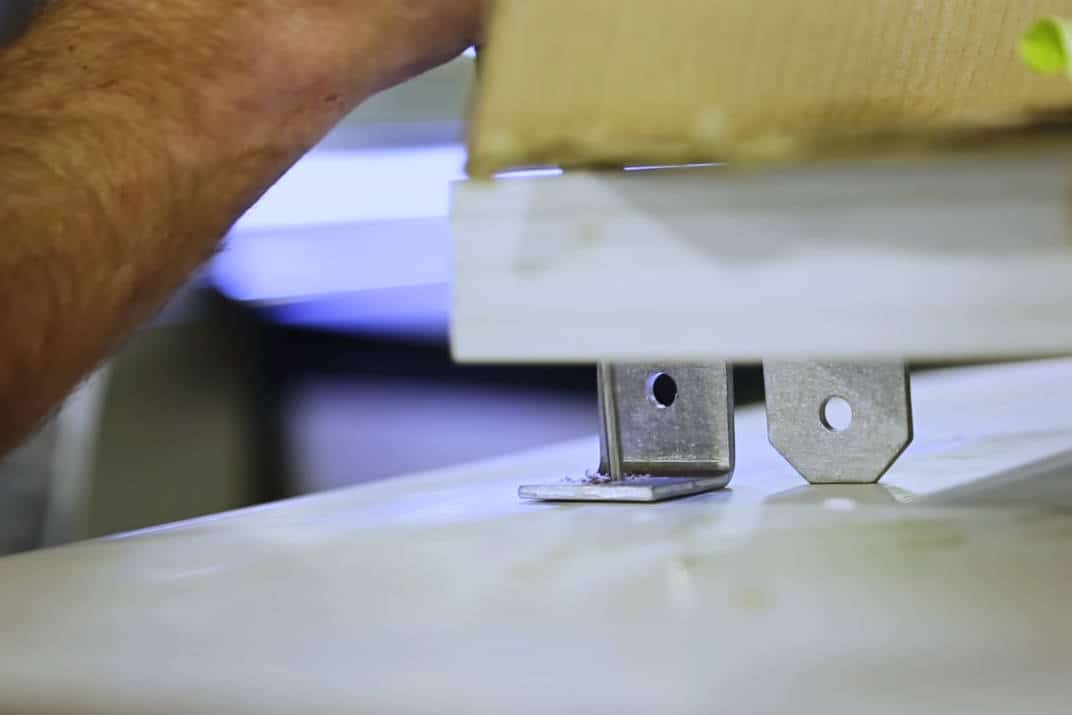
Drill the holes on the panels, place the brackets and fasten them with nuts and bolts.
Ensure they are tightly secured so that when you mount the panels on the roof, they are not ripped off as you’re driving.
Step 5. Mount the Panels
This process will be significantly influenced by the type of solar panels you have.
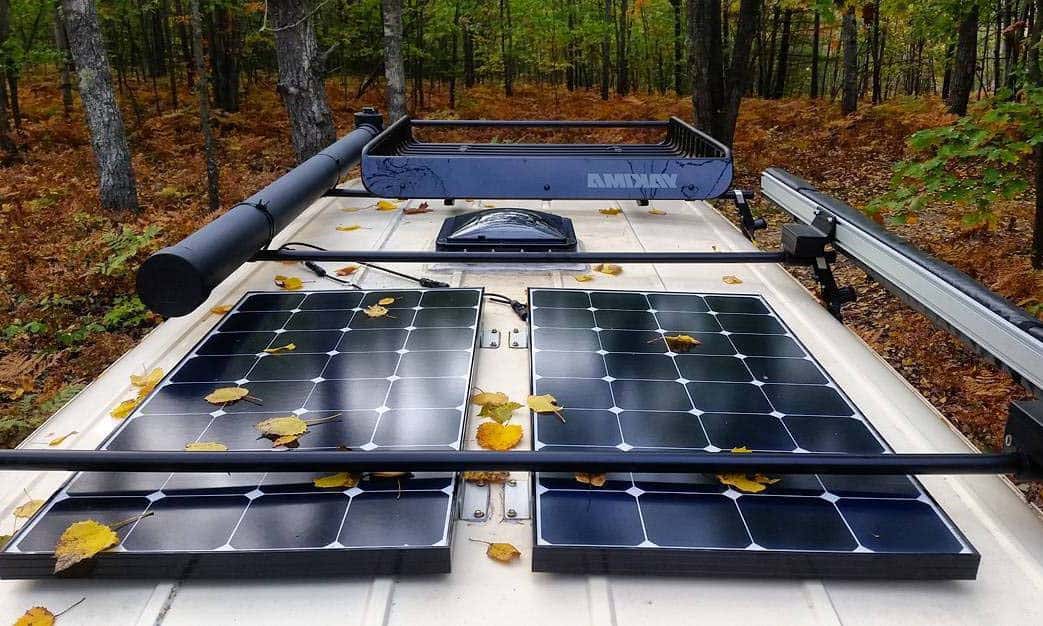
In case yours are rigid panels, use screws to attach them to your RV’s roof.
With flexible panels, you can still use screws, but there’s also an option for adhesive.
But they have their advantages and disadvantages. Flexible panels or thin-film panels are very light, making it easier to have as many as necessary.
Rigid panels, while they weigh more than flexible ones, do last longer. They can also withstand harsh weather.
Generally, monocrystalline solar panels are more efficient than polycrystalline ones.
Drill the roof to have access to the cable entry plate. The good thing about the cable entry plate is that it’s waterproof, so no room for leakages.
Mount the cable entry plate on the roof and run your wires from there.
Step 6. Connect The Cables to The Charge Controller
Install your charge controller monitor panel inside the RV.
You’ll notice you have one meter of positive and negative cables each. The connector is fitted.
In most cases, this cable is shorter, and you might need to extend it. A longer cable can reach the solar controller easily.
But, ensure your charge controller and fuses are close to the battery to keep the cables short.
Wire size is very important, the shorter the wires, the more you’re able to avoid voltage loss.
Link the connector cables to the solar breaker. Usually, the breaker goes between the solar panels and the solar charge controller.
Next, install the DC fuse block between the solar charge controller and the batteries. (Recommended to read: How to Wire Solar Panels in Series or Parallel)
Step 7. Make A Series
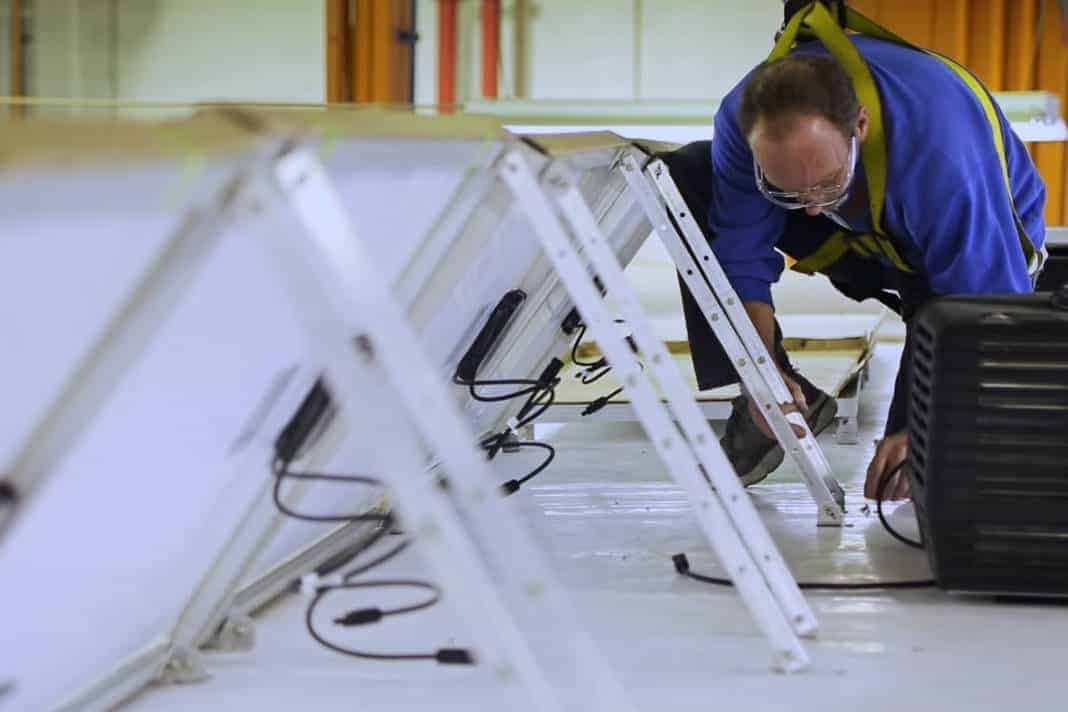
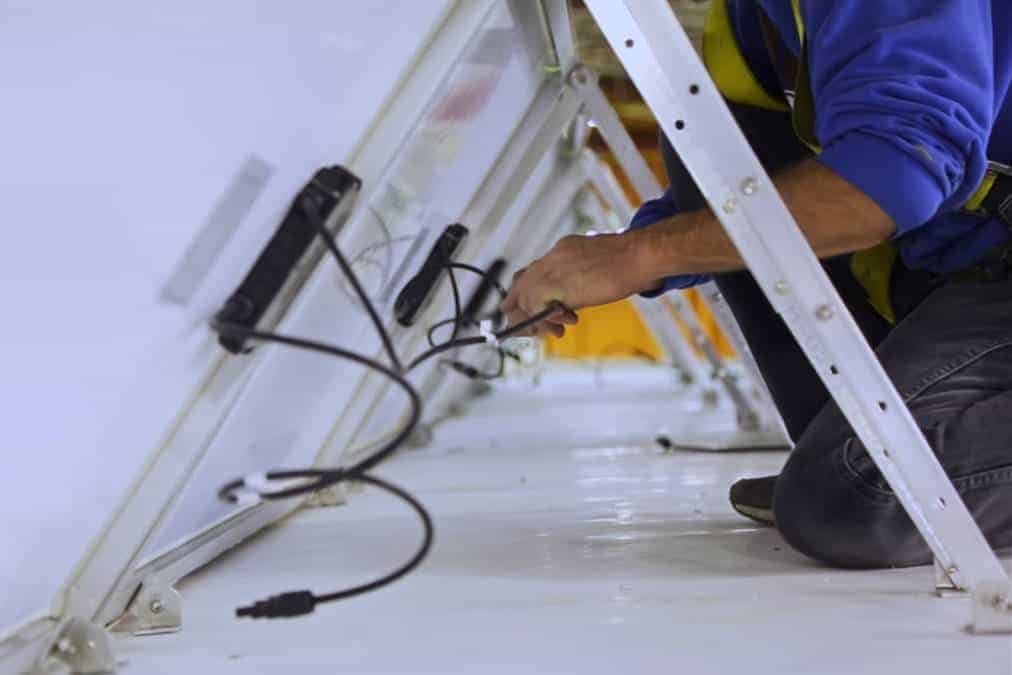
After you have mounted all the solar panels, you have to link them to each other.
The first and last panels have a loose end. Connect each of these loose ends to a cable and then to the cable entry plate.
In case you have many wires, you can use an MC4 connector for a neat one-cable finish.
How much does an RV solar installation cost?
Just like in the case of a home solar system installation, the cost depends on several factors. For example, your power needs and the amount of space you have. Besides, the more batteries and panels you use, the higher your cost will be.
In general, the cost can range from $500 to well over $2,000 depending on the size and complexity of the installation. Larger solar installations can go up to $2,000. But, over the years, solar prices have dropped. Also, most solar panels have a warranty of over 20 years, making them a worthwhile investment.
Further, in the US, you qualify for a solar tax credit of up to 30% of your solar system. Note that the solar tax credit information mentioned is outdated, and you should check for the latest tax incentives and credits available in your area. With such benefits, it means the solar system will pay for itself in the long term.
Conclusion
Once you know your power demands and your budget, an RV solar installation should go seamlessly.
First, ensure you have a flat surface on which to mount your panels. Avoid places with AC or aerial antennae. Next, measure your roof space and make a draft of the solar system layout. After this, attach the brackets to the panel by drilling holes on them.
However, if you have a flexible panel, you can use adhesive to fix the panels. Run the wiring through a conduit to a cable entry plate, after which you connect to a solar charge controller.
Although an RV solar installation can cost you anywhere from $500 to $2,000, the investment is worth it. So, power your RV with solar and start boondocking!

